Photographing Animals with the Nikon 135mm f/1.8 Plena — intimate tele portraits and low‑light clarity
The Nikon 135mm f/1.8 Plena is a portrait tele that transforms distance into intimacy. Its large aperture and tele compression let you isolate animals from busy enclosures, work in dim zoo light, and produce portraits with painterly bokeh. This post walks through ten real-world shots (Zoo Schönbrunn, Cres, backyard), explains why the lens worked, and gives practical camera settings and editing notes you can apply immediately.
Why the 135mm f/1.8 is a strong choice for animal portraits
The 135mm focal length compresses perspective in a flattering way, bringing facial details forward while smoothing background clutter. At f/1.8 the lens delivers shallow depth of field and generous light-gathering — crucial for indoor exhibits, dusk bird work, and small mammals behind glass. The combination of subject separation and low‑light capability makes it a reliable single-lens approach when you want portrait-like images without heavy gear.
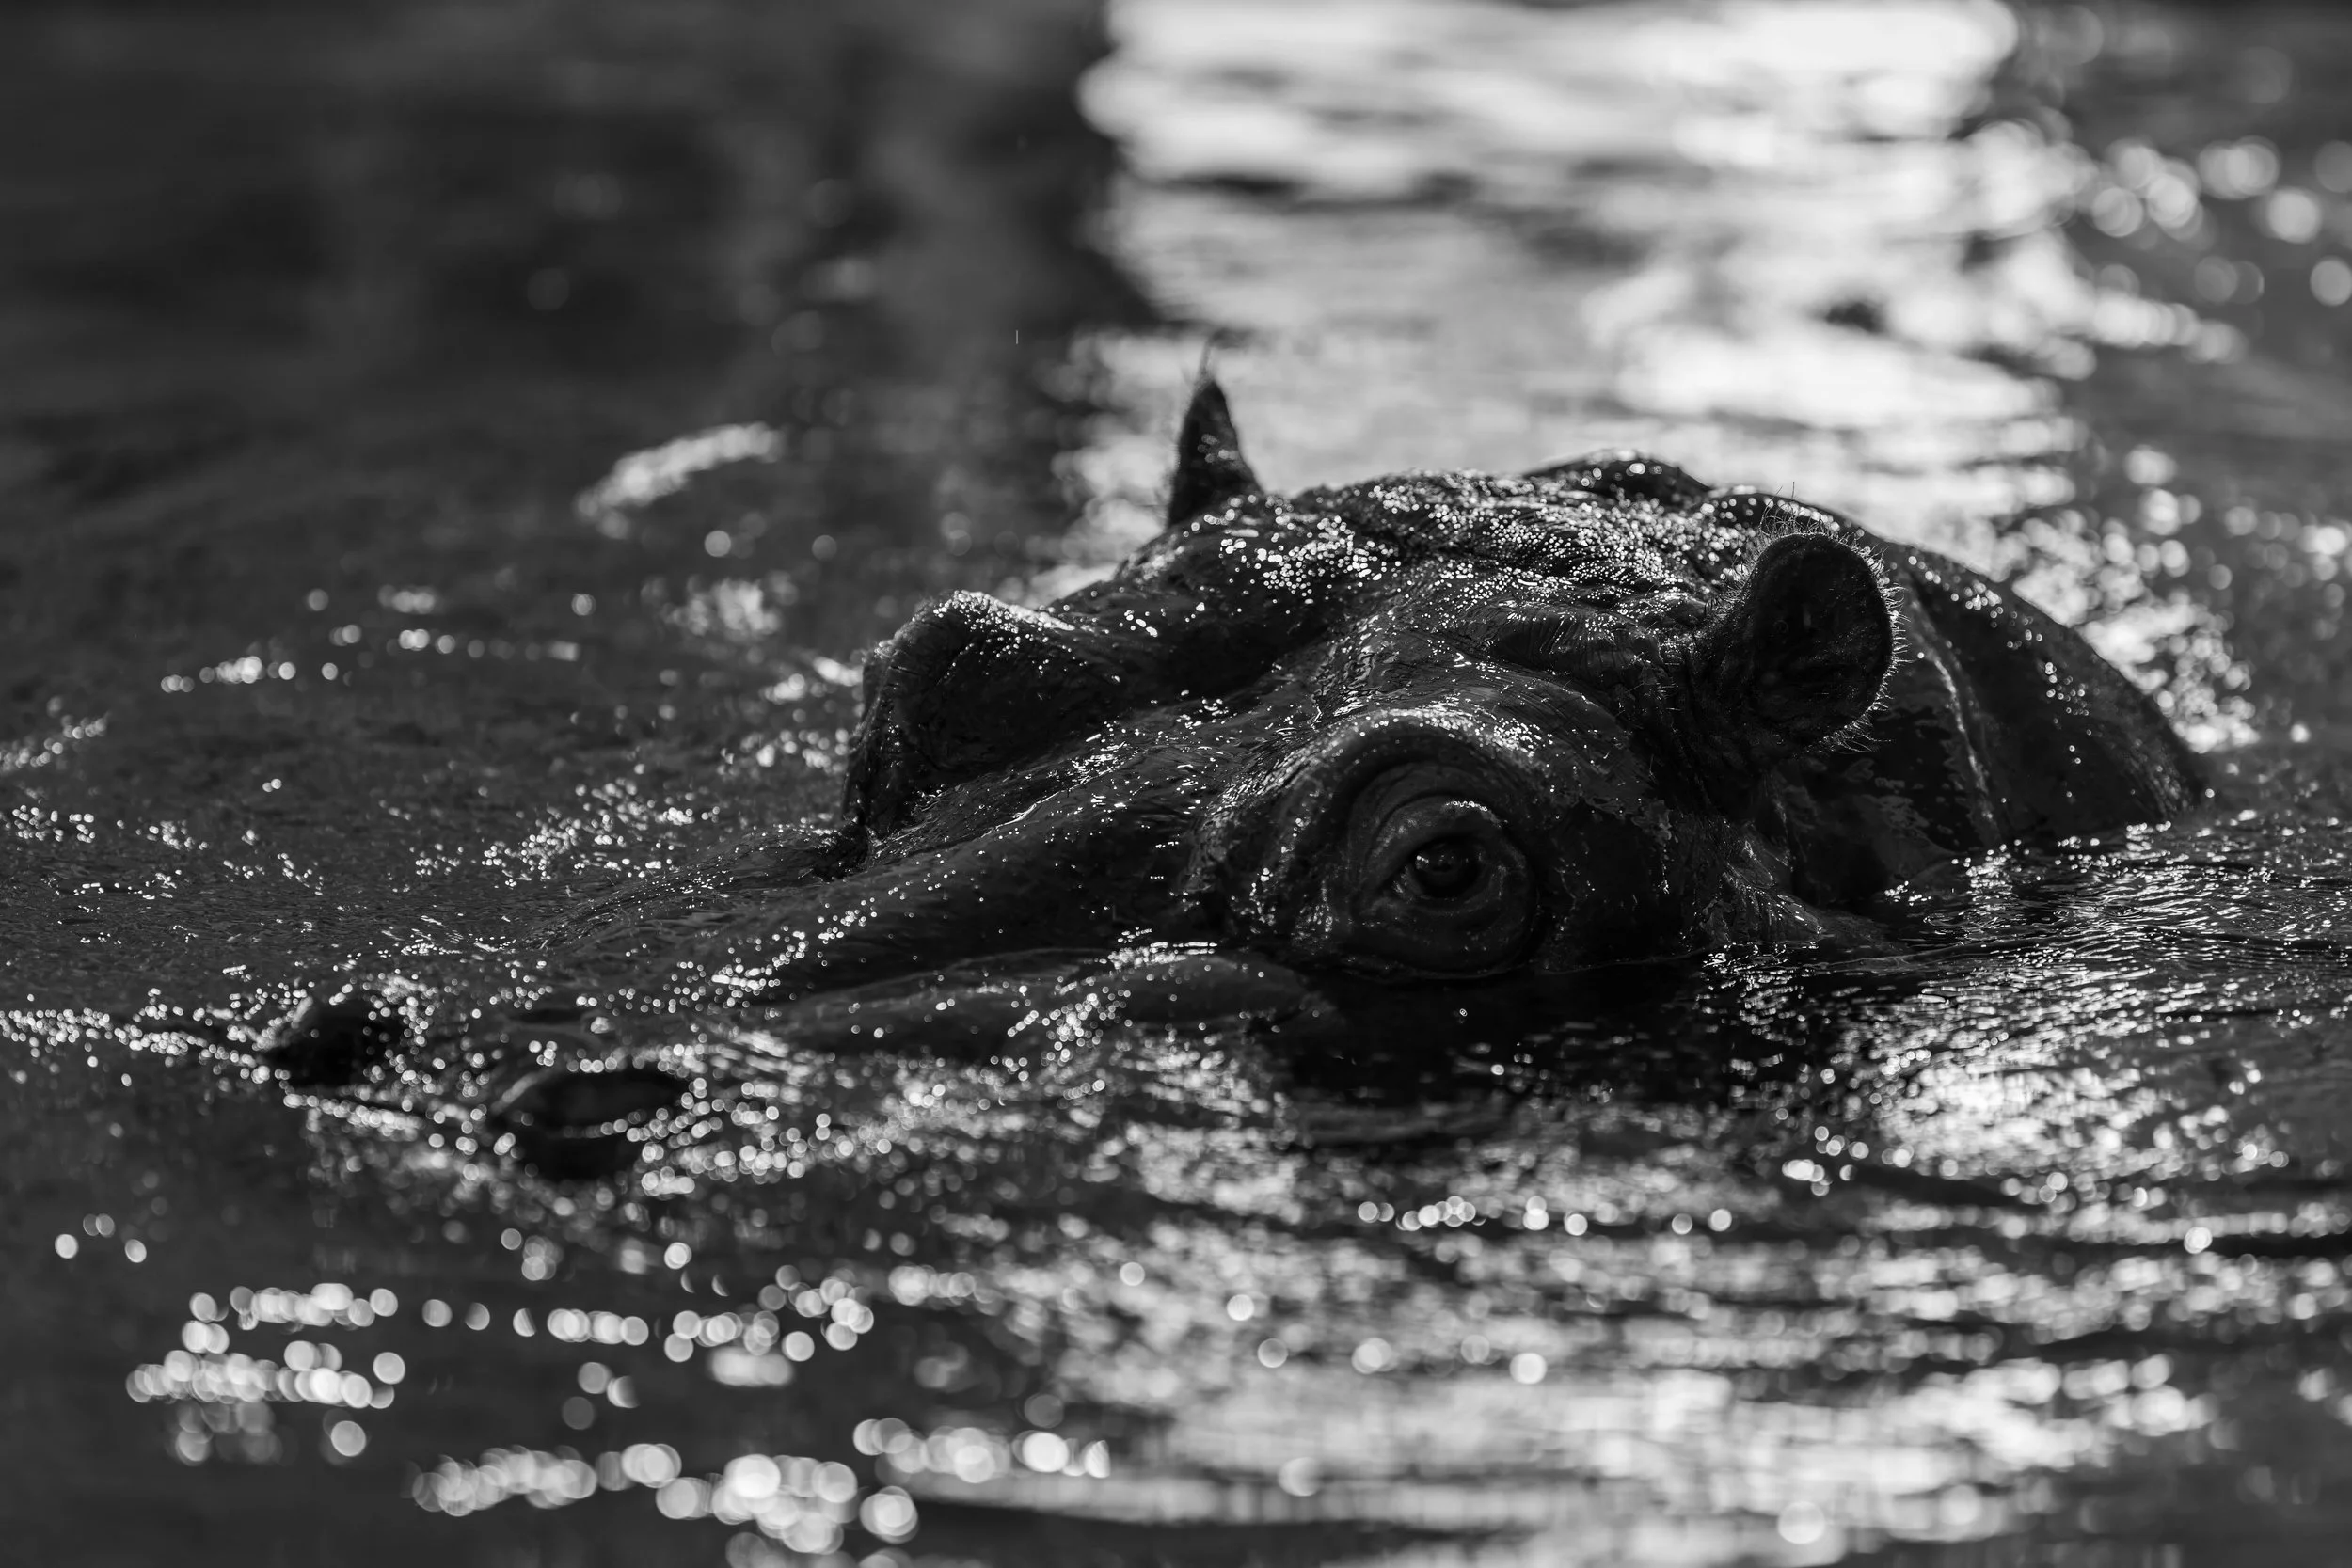
Hippopotamus — backlight, indoor low light (f/1.8)
Why it worked: f/1.8 preserved detail in rim-lit skin while keeping ISO moderate.
Tip: Meter for highlights; recover midtones in RAW to reveal texture.
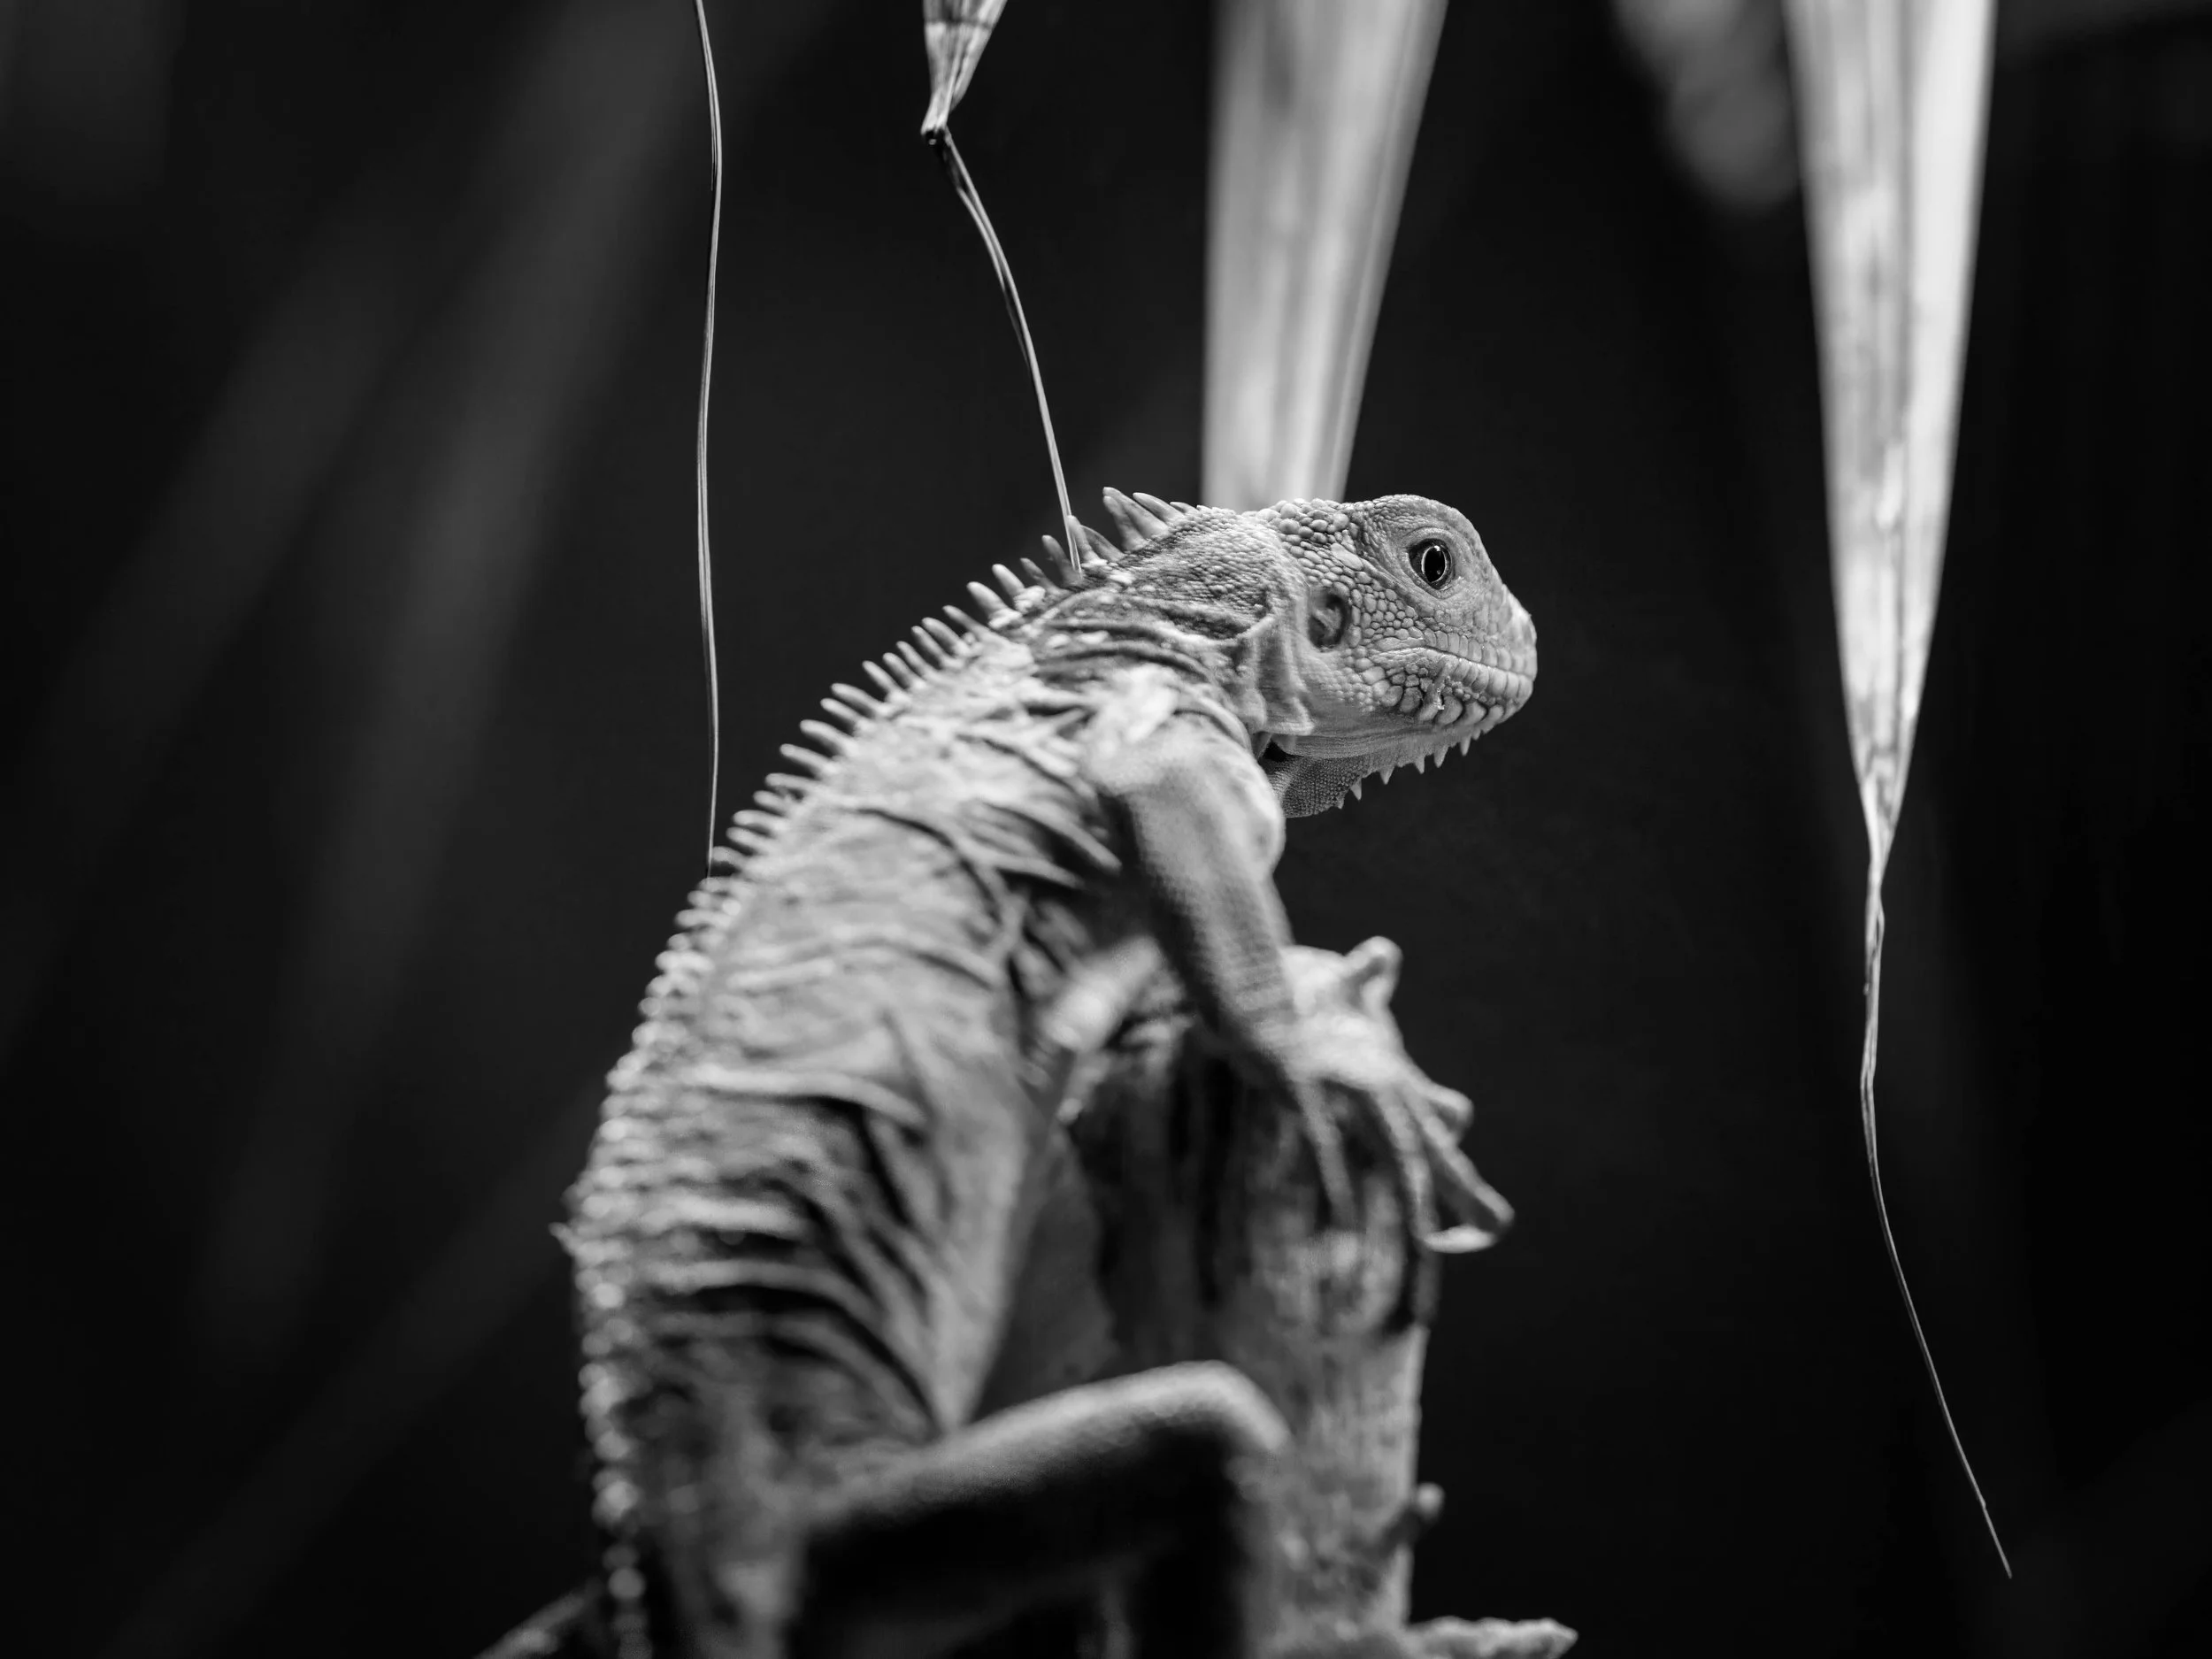
Iguana (Iguana delicatissima) — terrarium (f/3.5)
Why it worked: smaller aperture increases depth across the body and scute detail.
Tip: Use polariser or remove reflections in RAW; SW conversion emphasizes texture
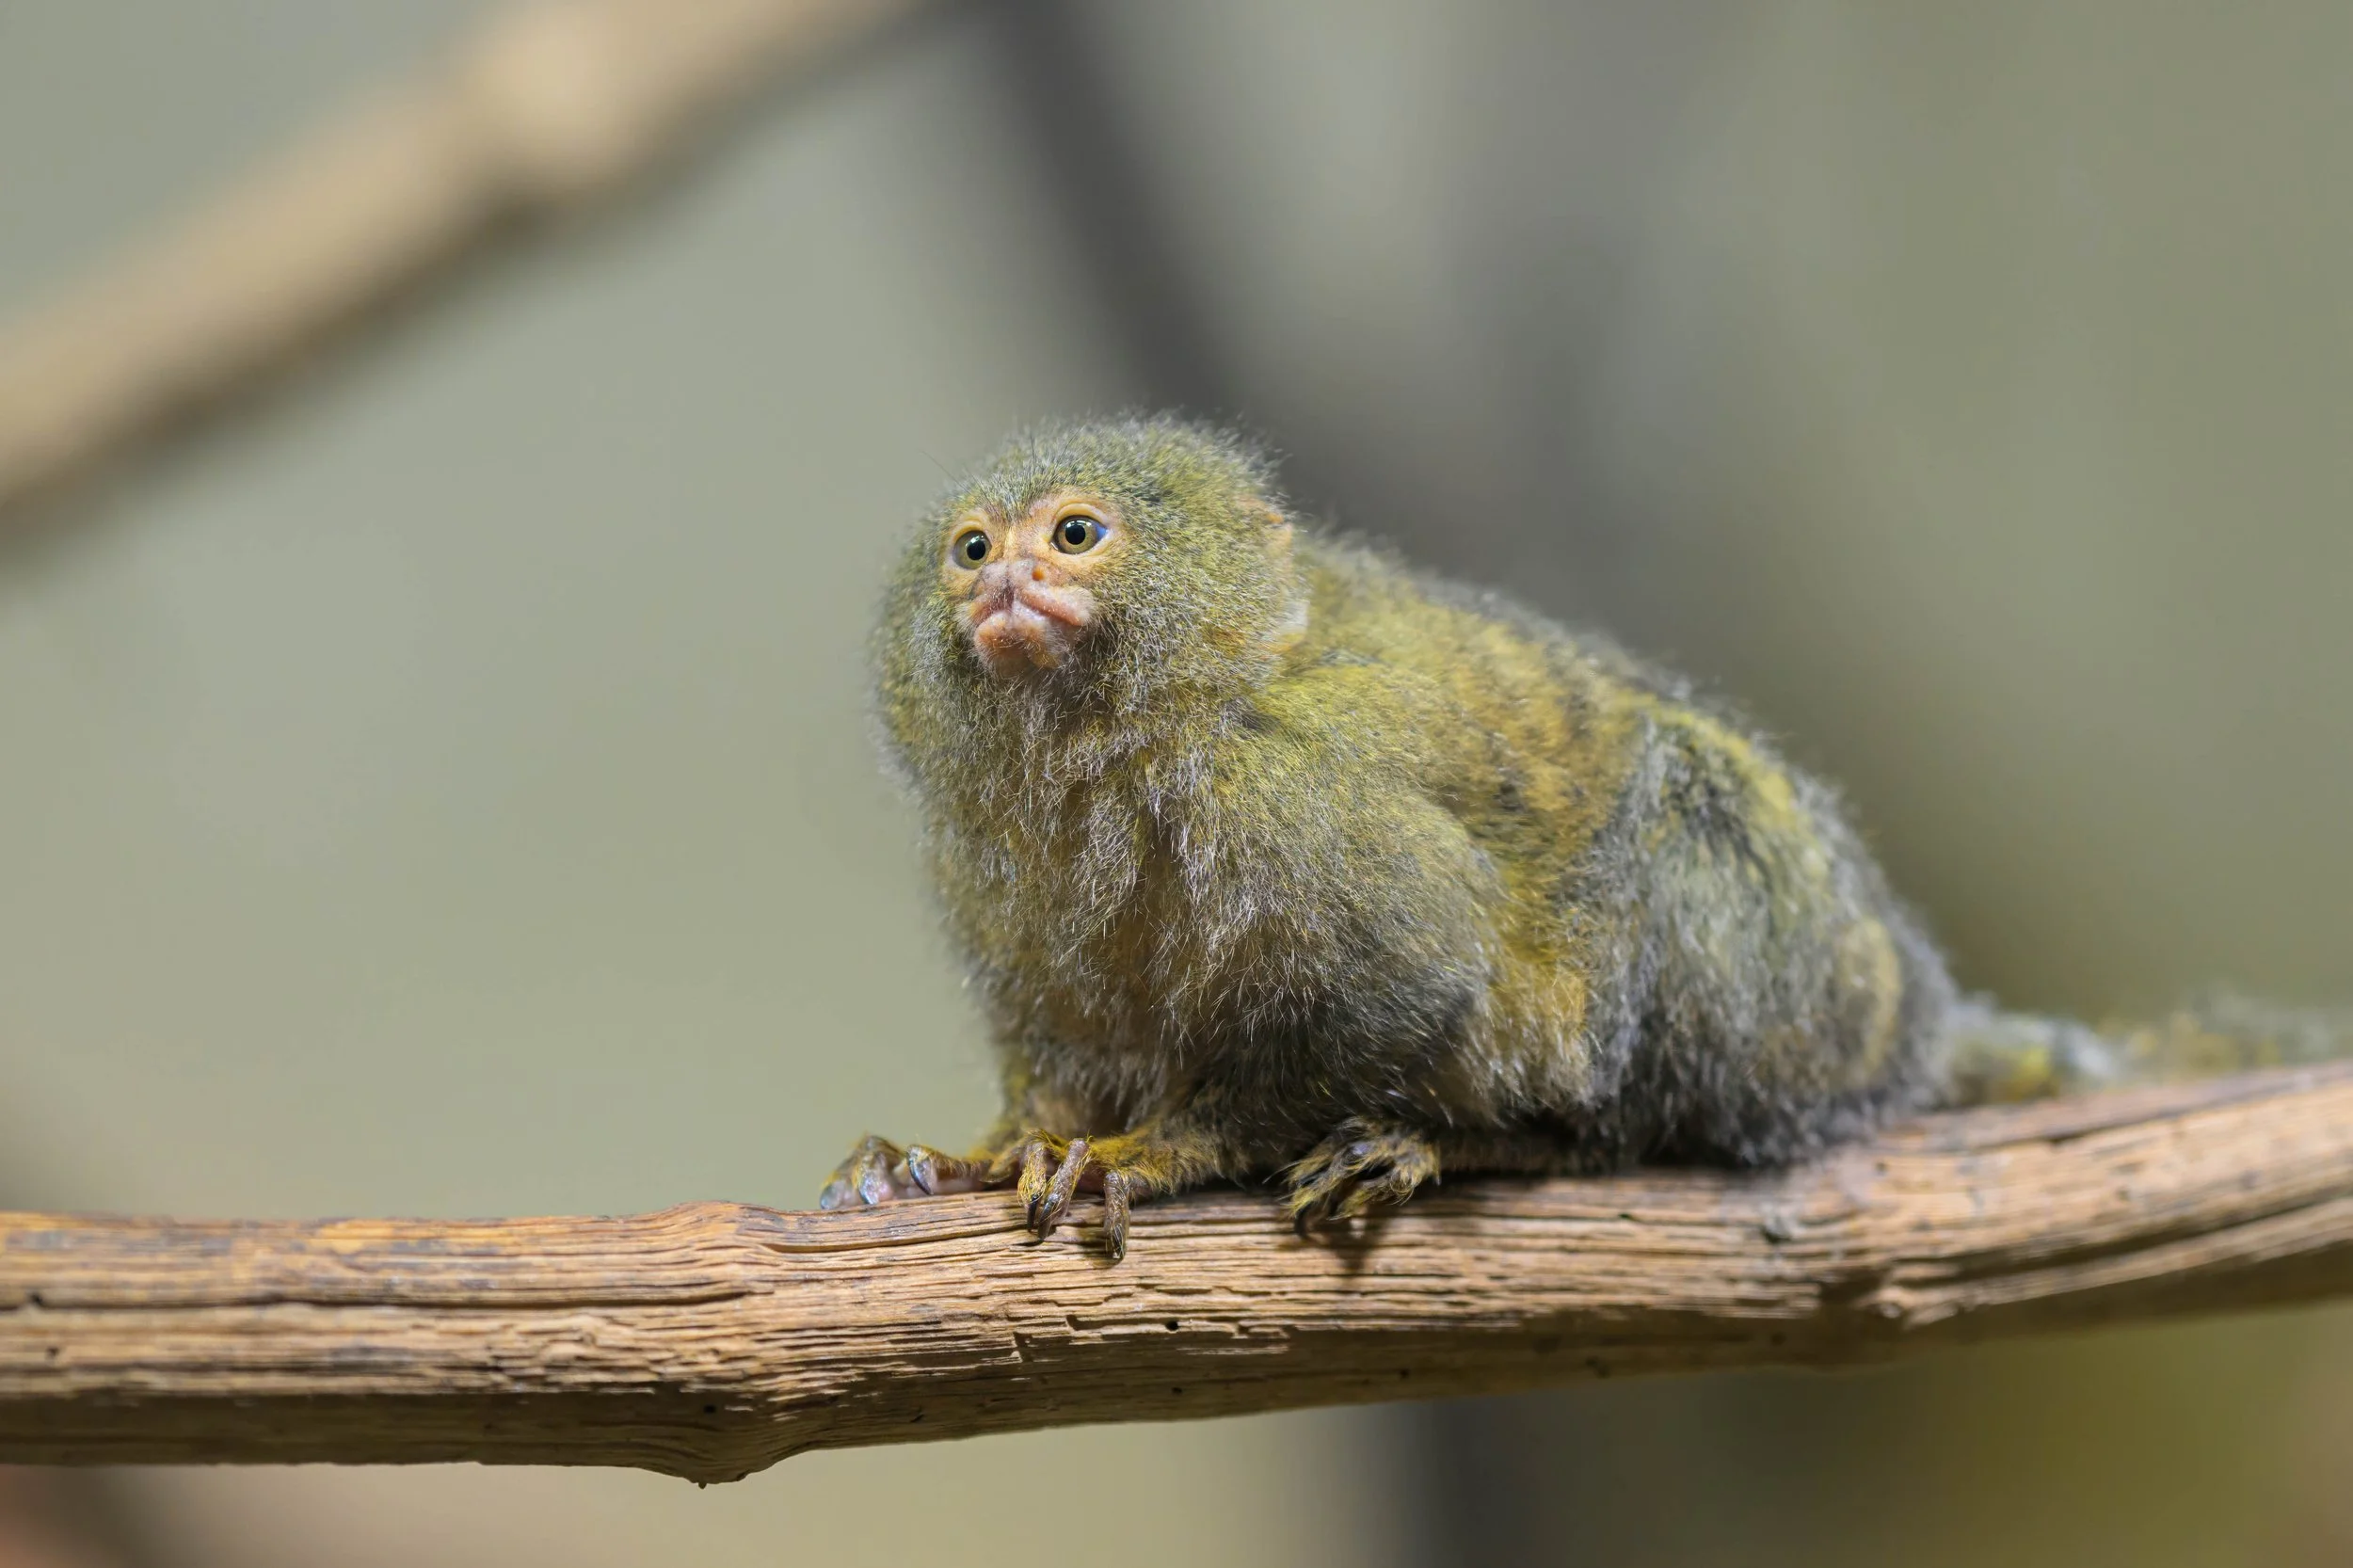
Pygmy marmoset — through glass (f/1.8)
Why it worked: f/1.8 isolates a tiny subject from busy backgrounds.
Tip: Touch the lens to the glass (with protection) to kill reflections; single-point Eye‑AF.
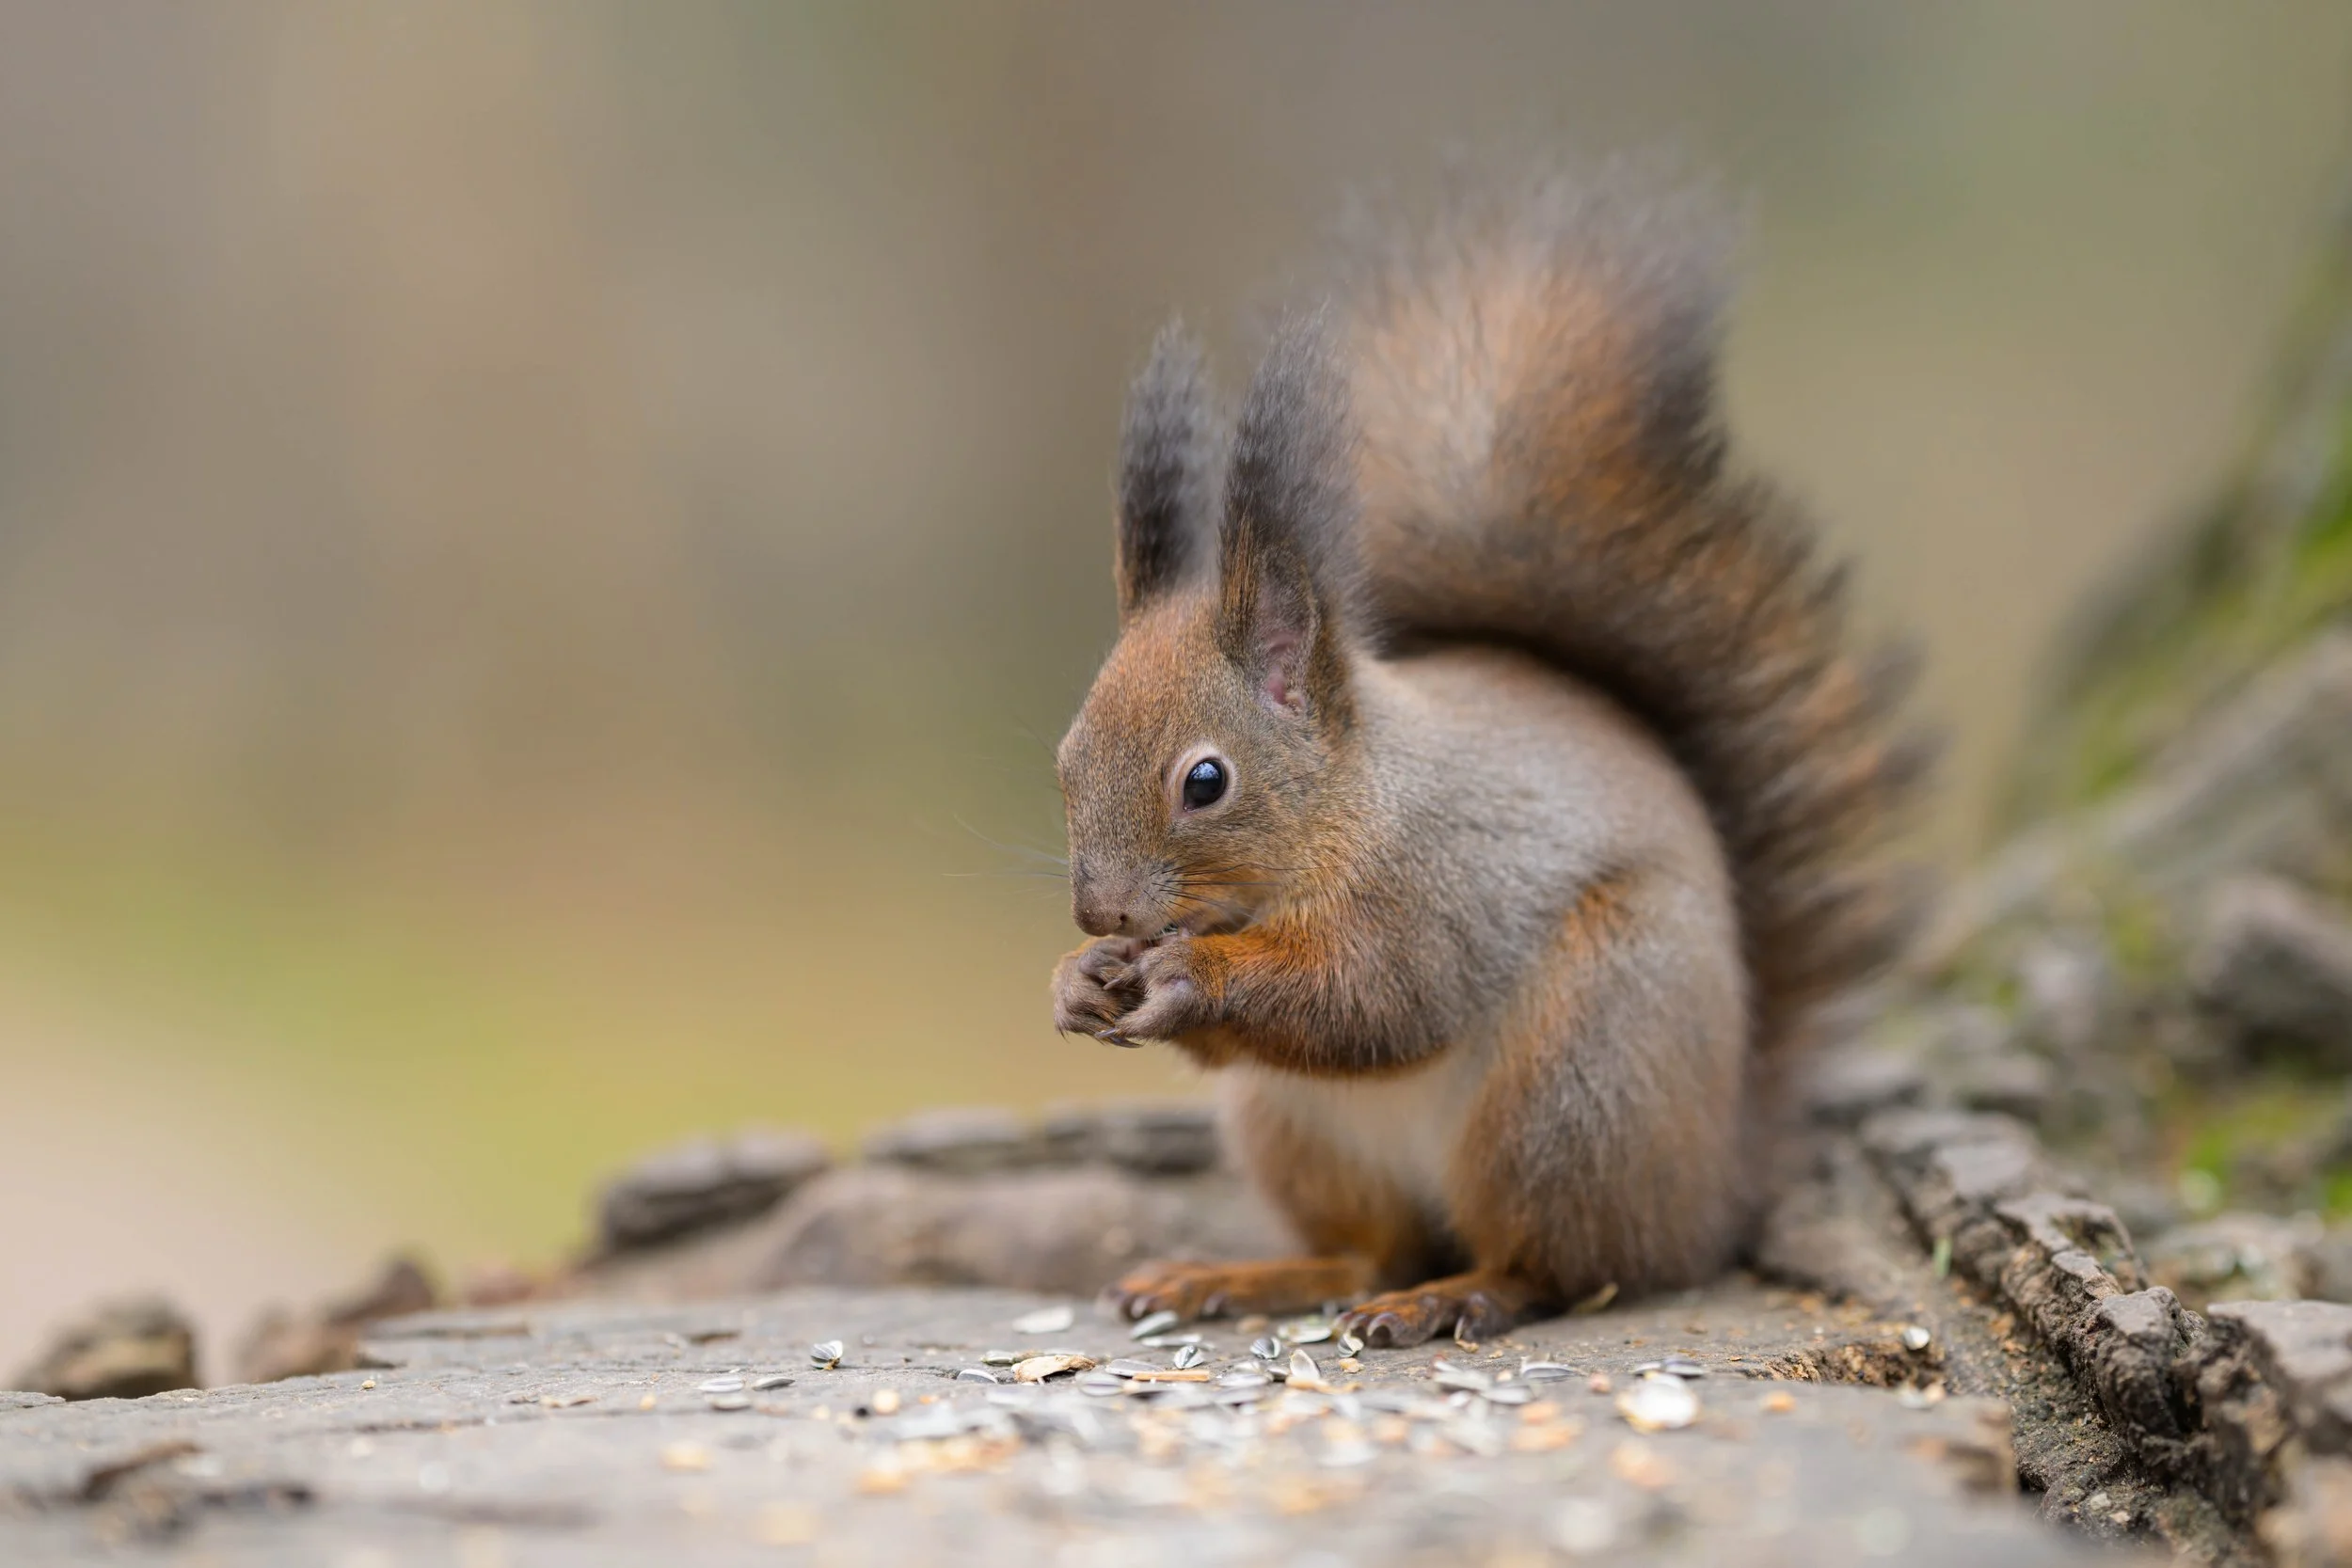
Squirrel on stump — feeding moment (f/1.8)
Why it worked: tele compression + wide aperture for a narrative frame showing hands/teeth with soft background.
Tip: High burst mode; focus on the muzzle.
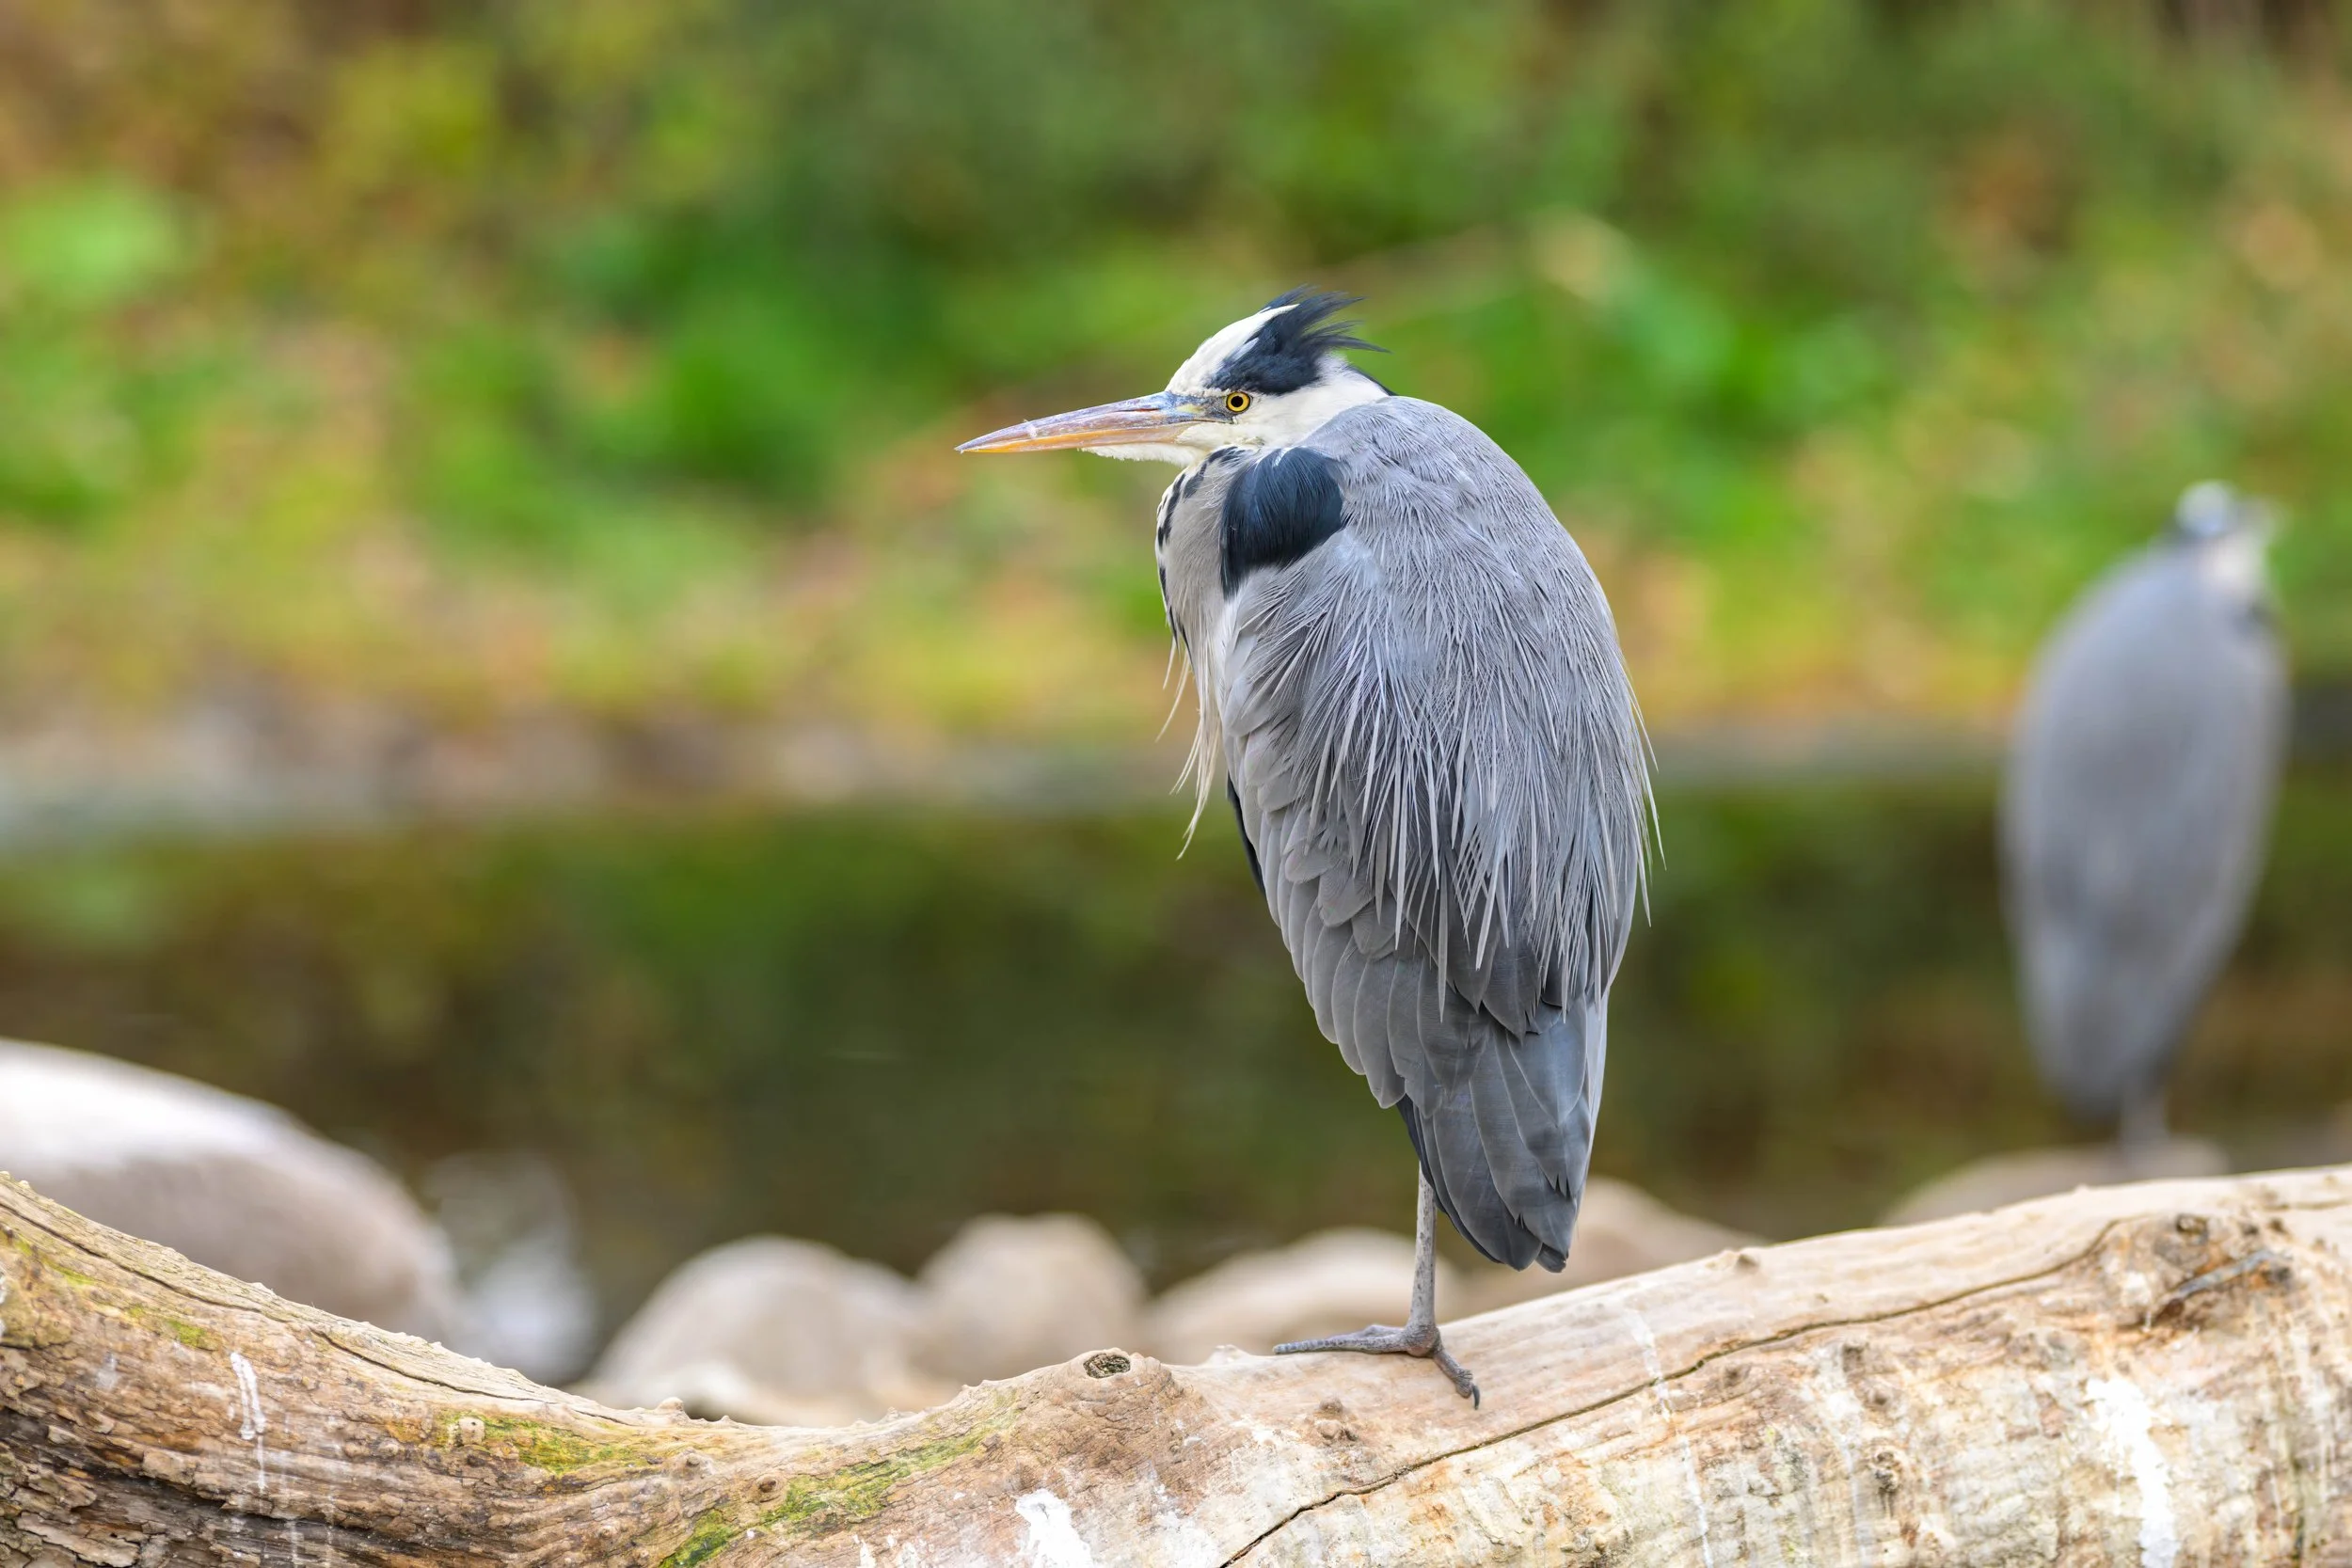
Grey heron — outdoor (f/1.8)
Why it worked: lens compresses scene and turns foliage into a calm colour field.
Tip: Slight underexposure to preserve highlight detail on feathers.
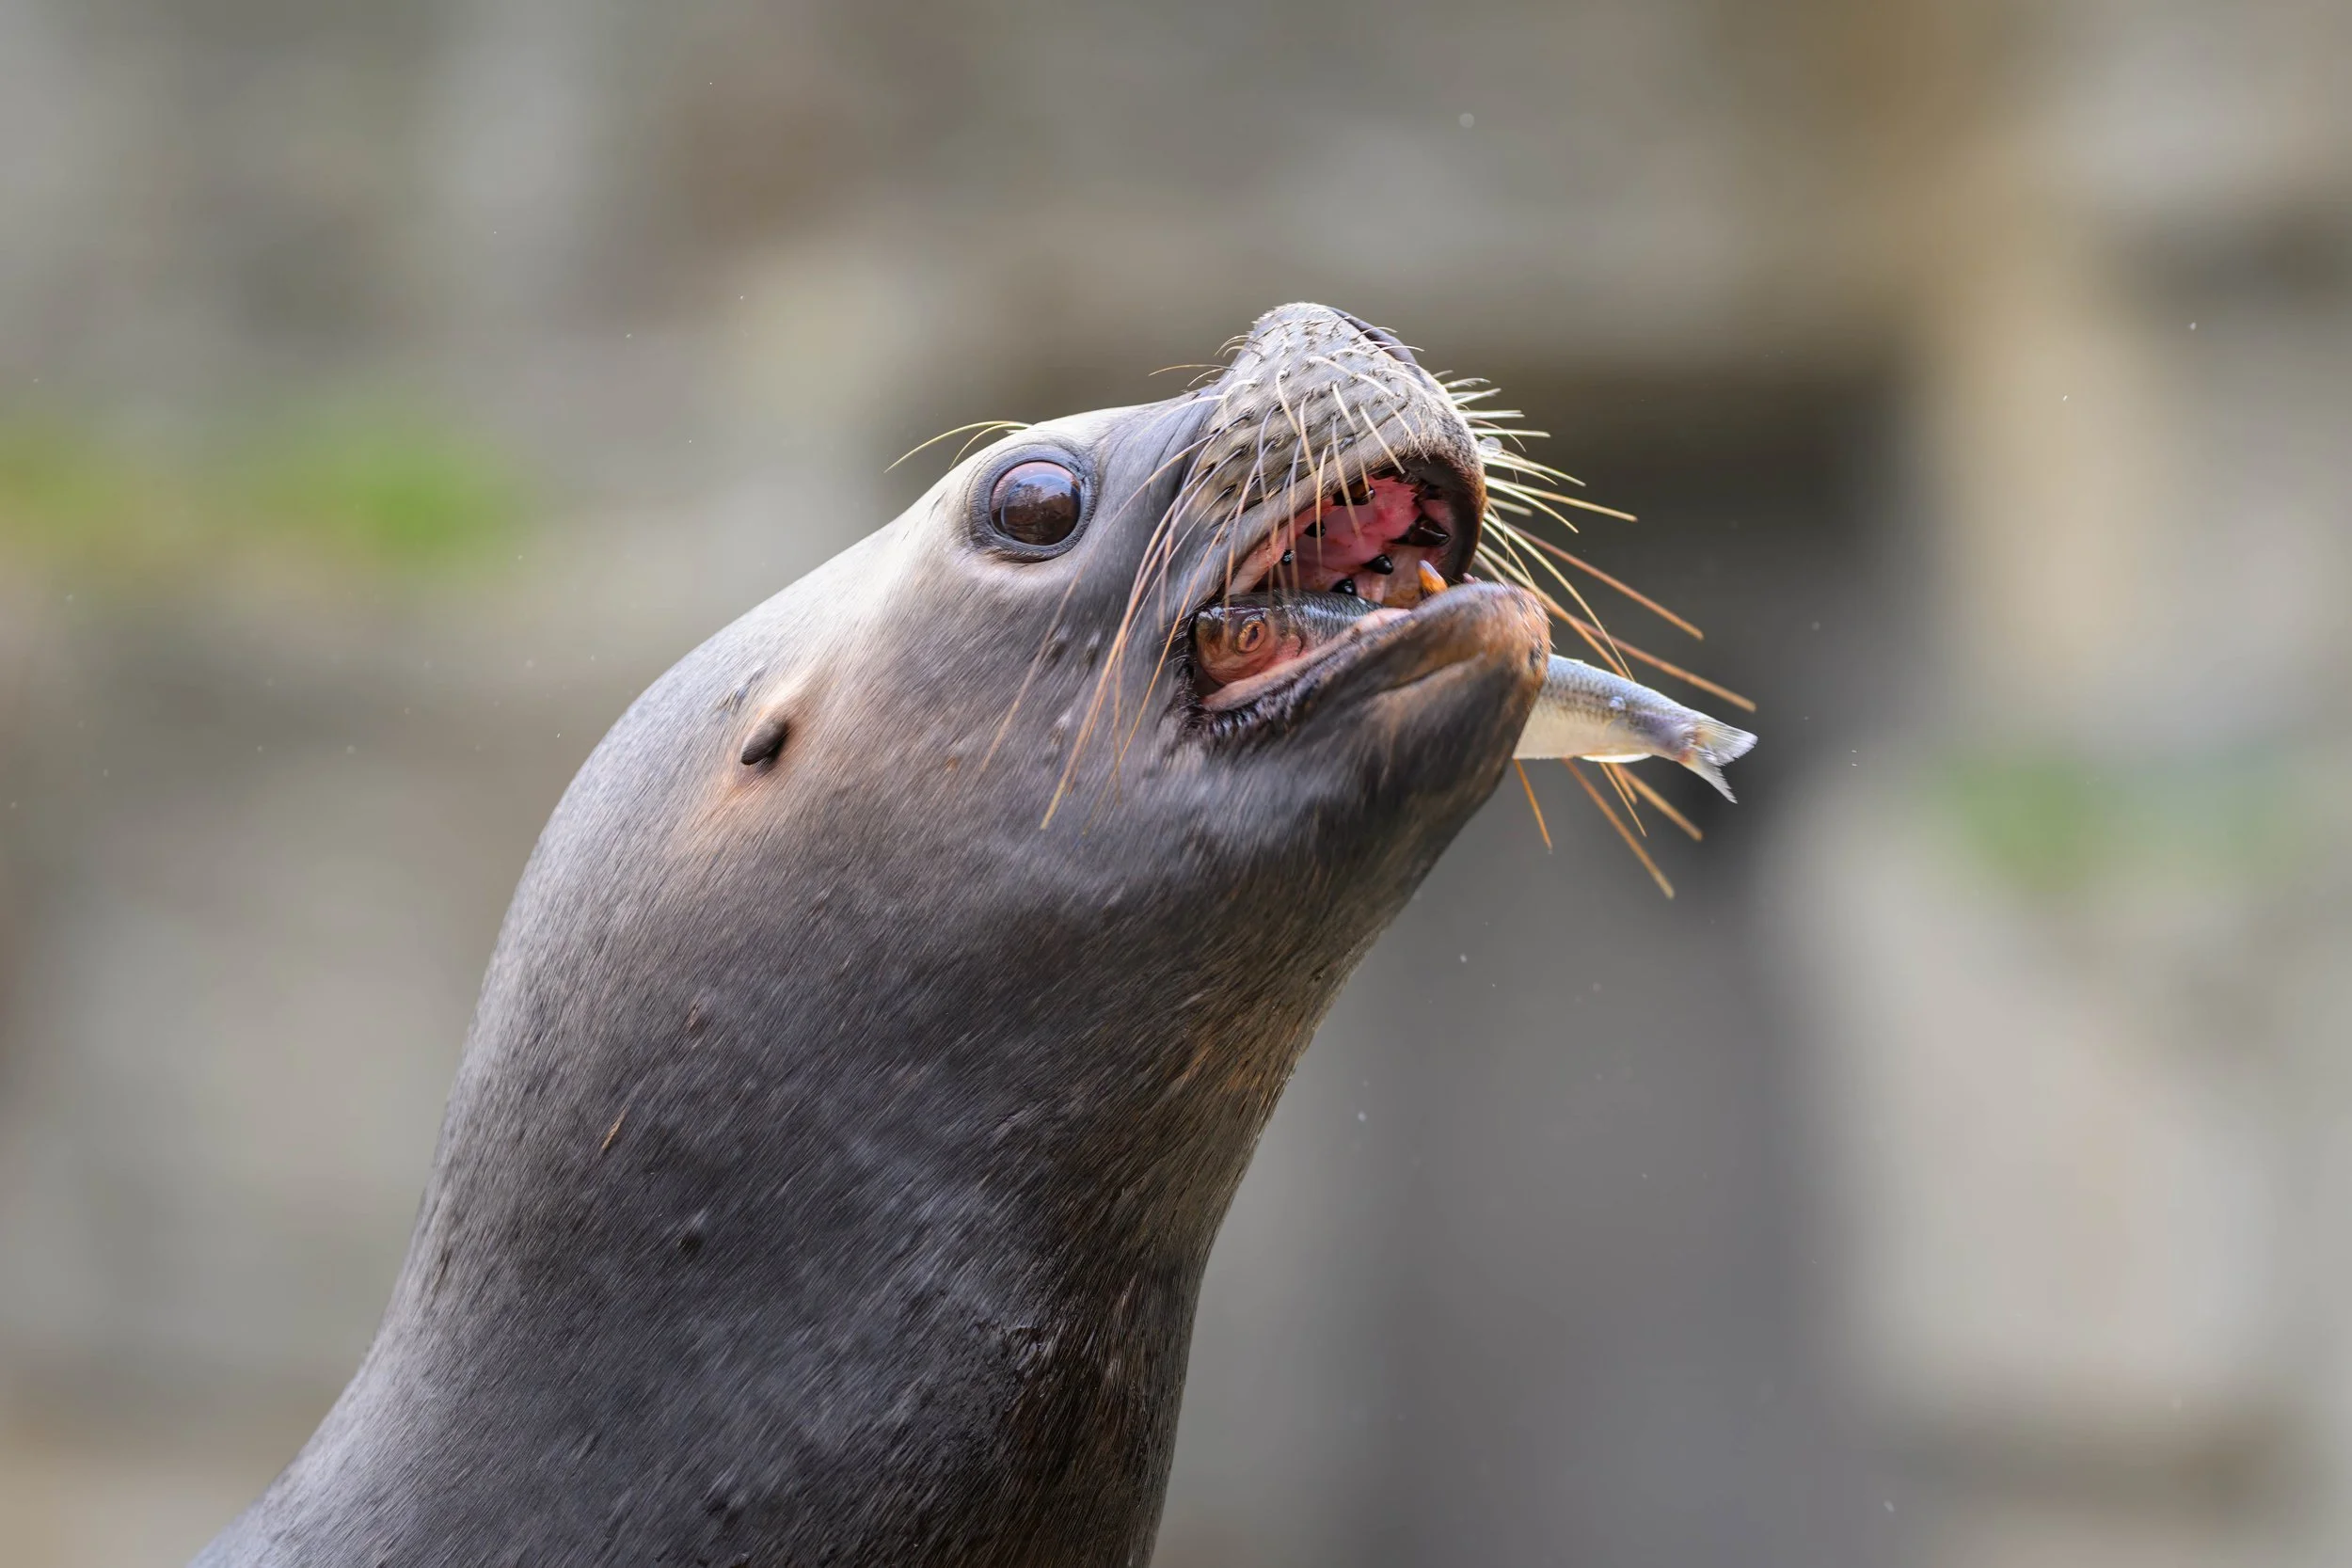
Patagonian sea lion — feeding action (f/1.8)
Why it worked: fast shutter with continuous AF froze action while preserving expression.
Tip: 1/500s+ recommended for splashes; track with AF‑C.
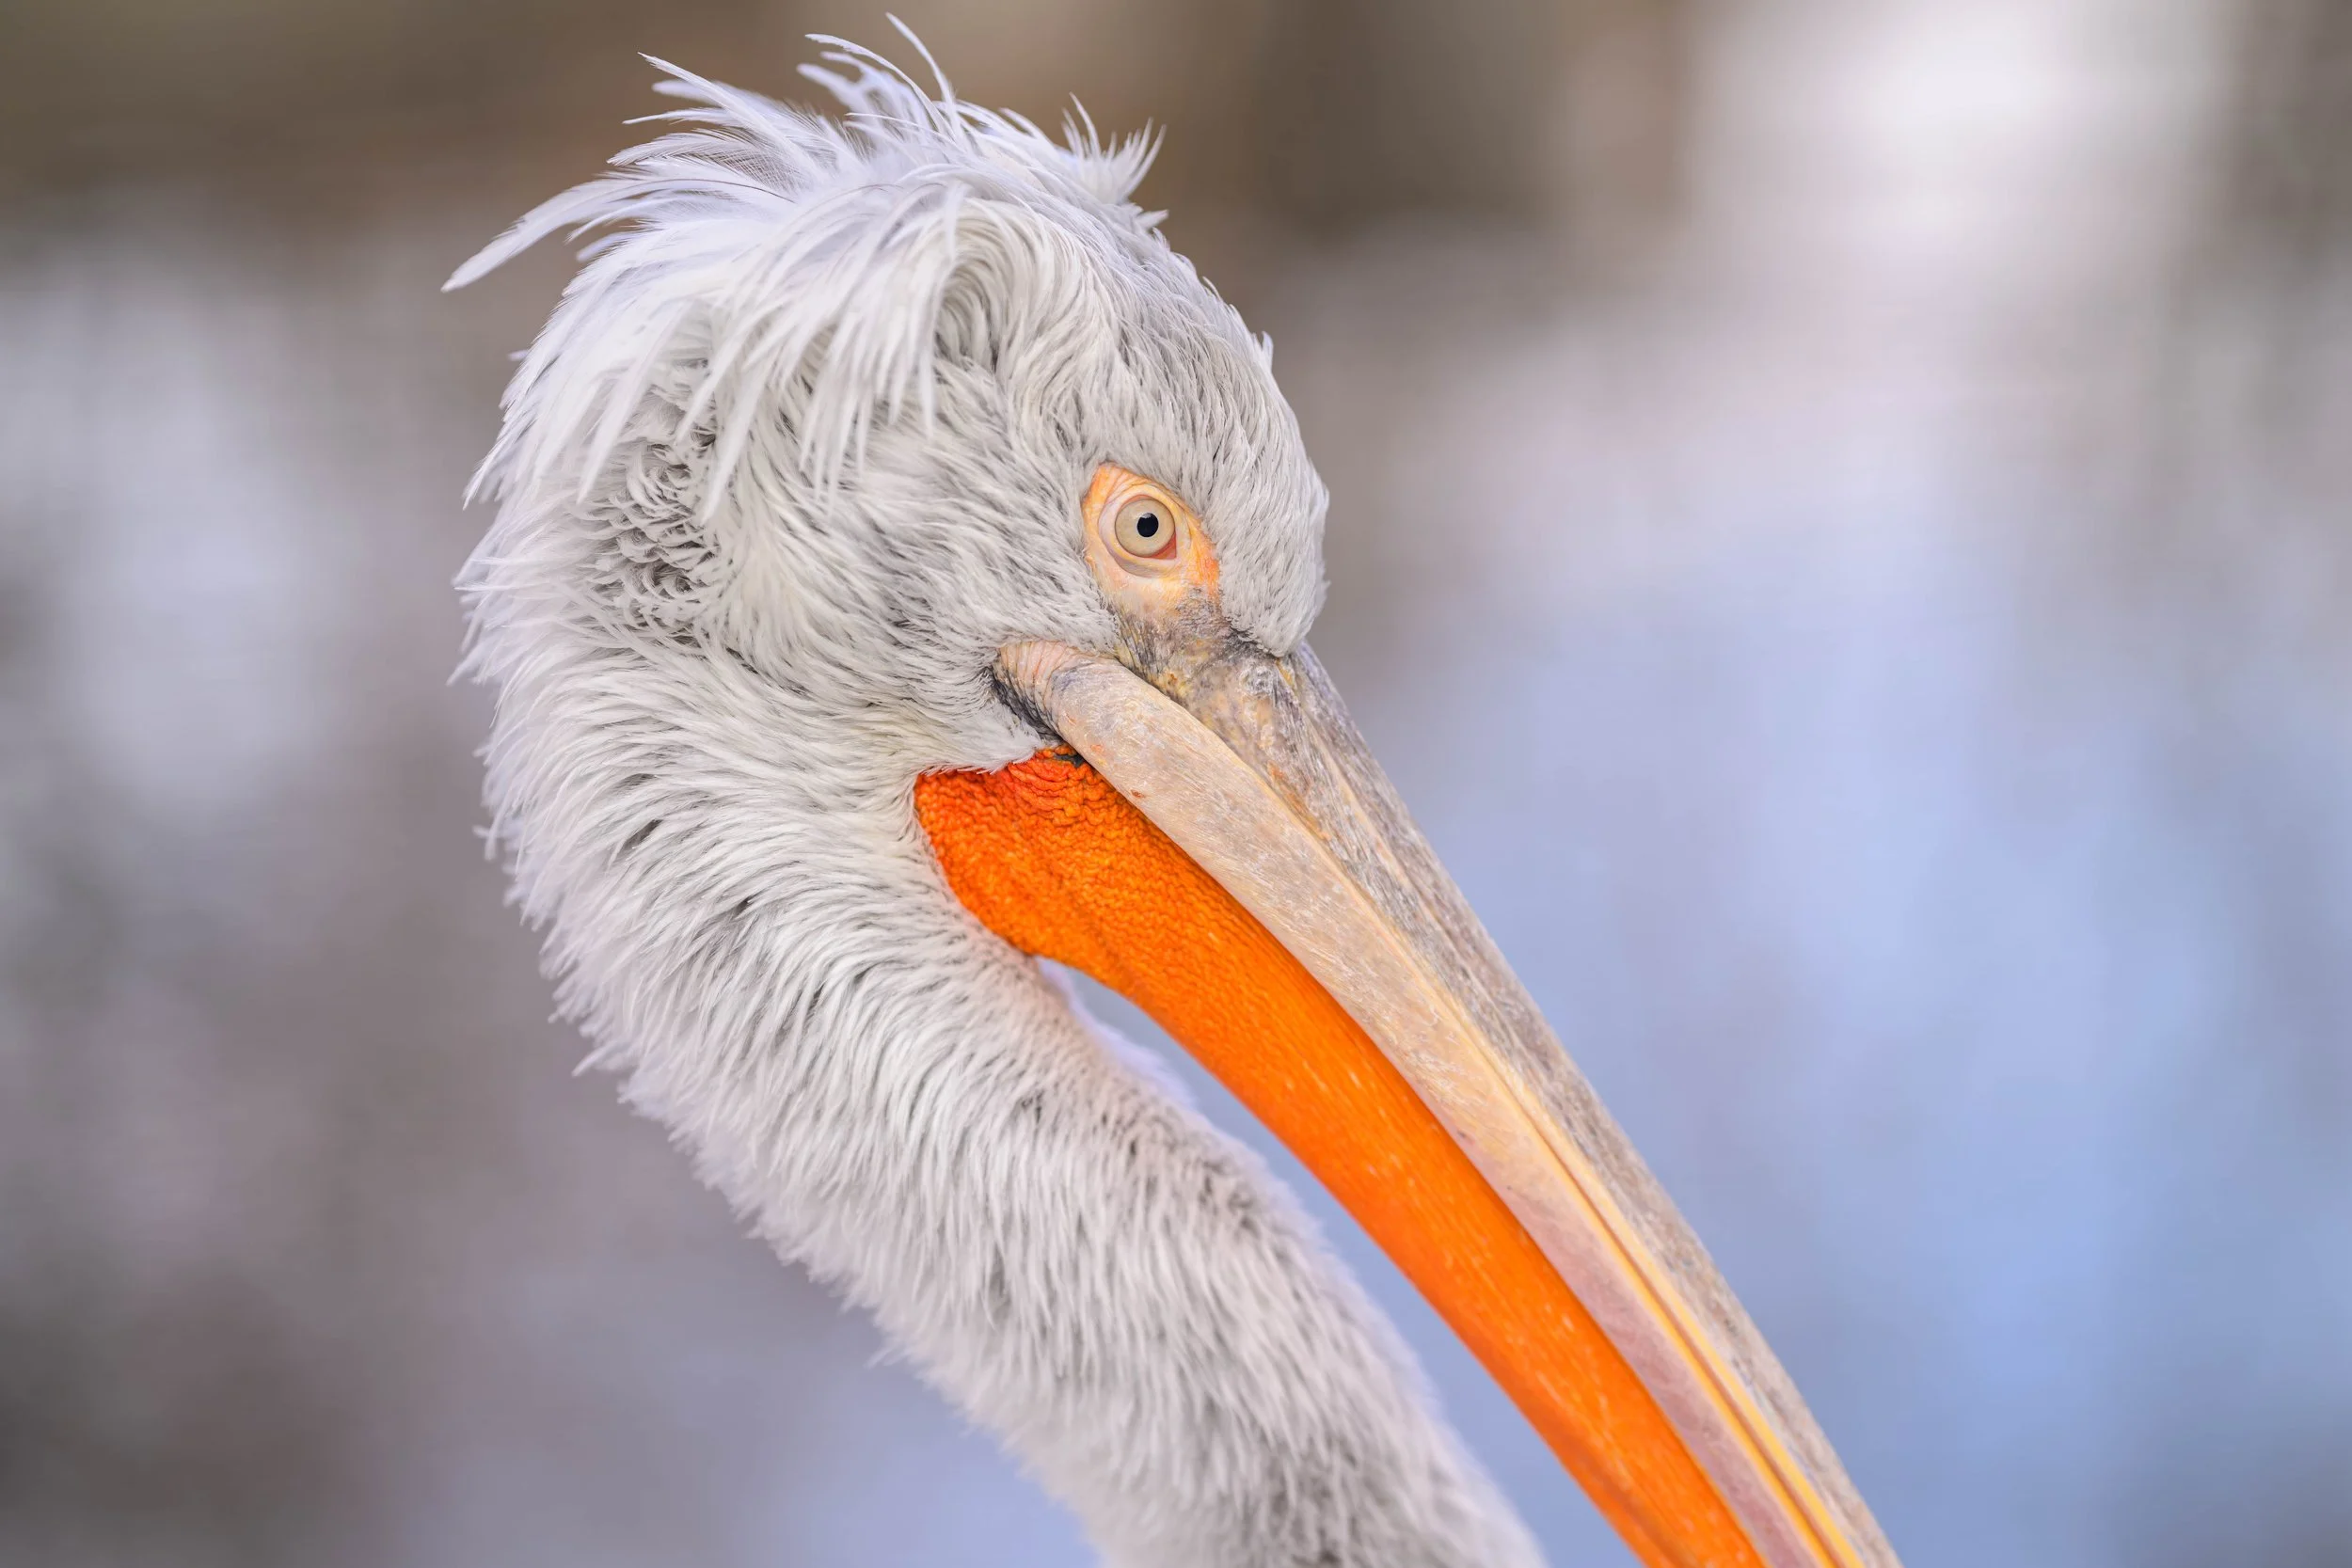
Dalmatian pelican — white head vs orange bill (f/1.8)
Why it worked: high contrast subjects benefit from selective exposure and local clarity on the eye.
Tip: Local contrast and micro‑sharpening on the bill and eye.
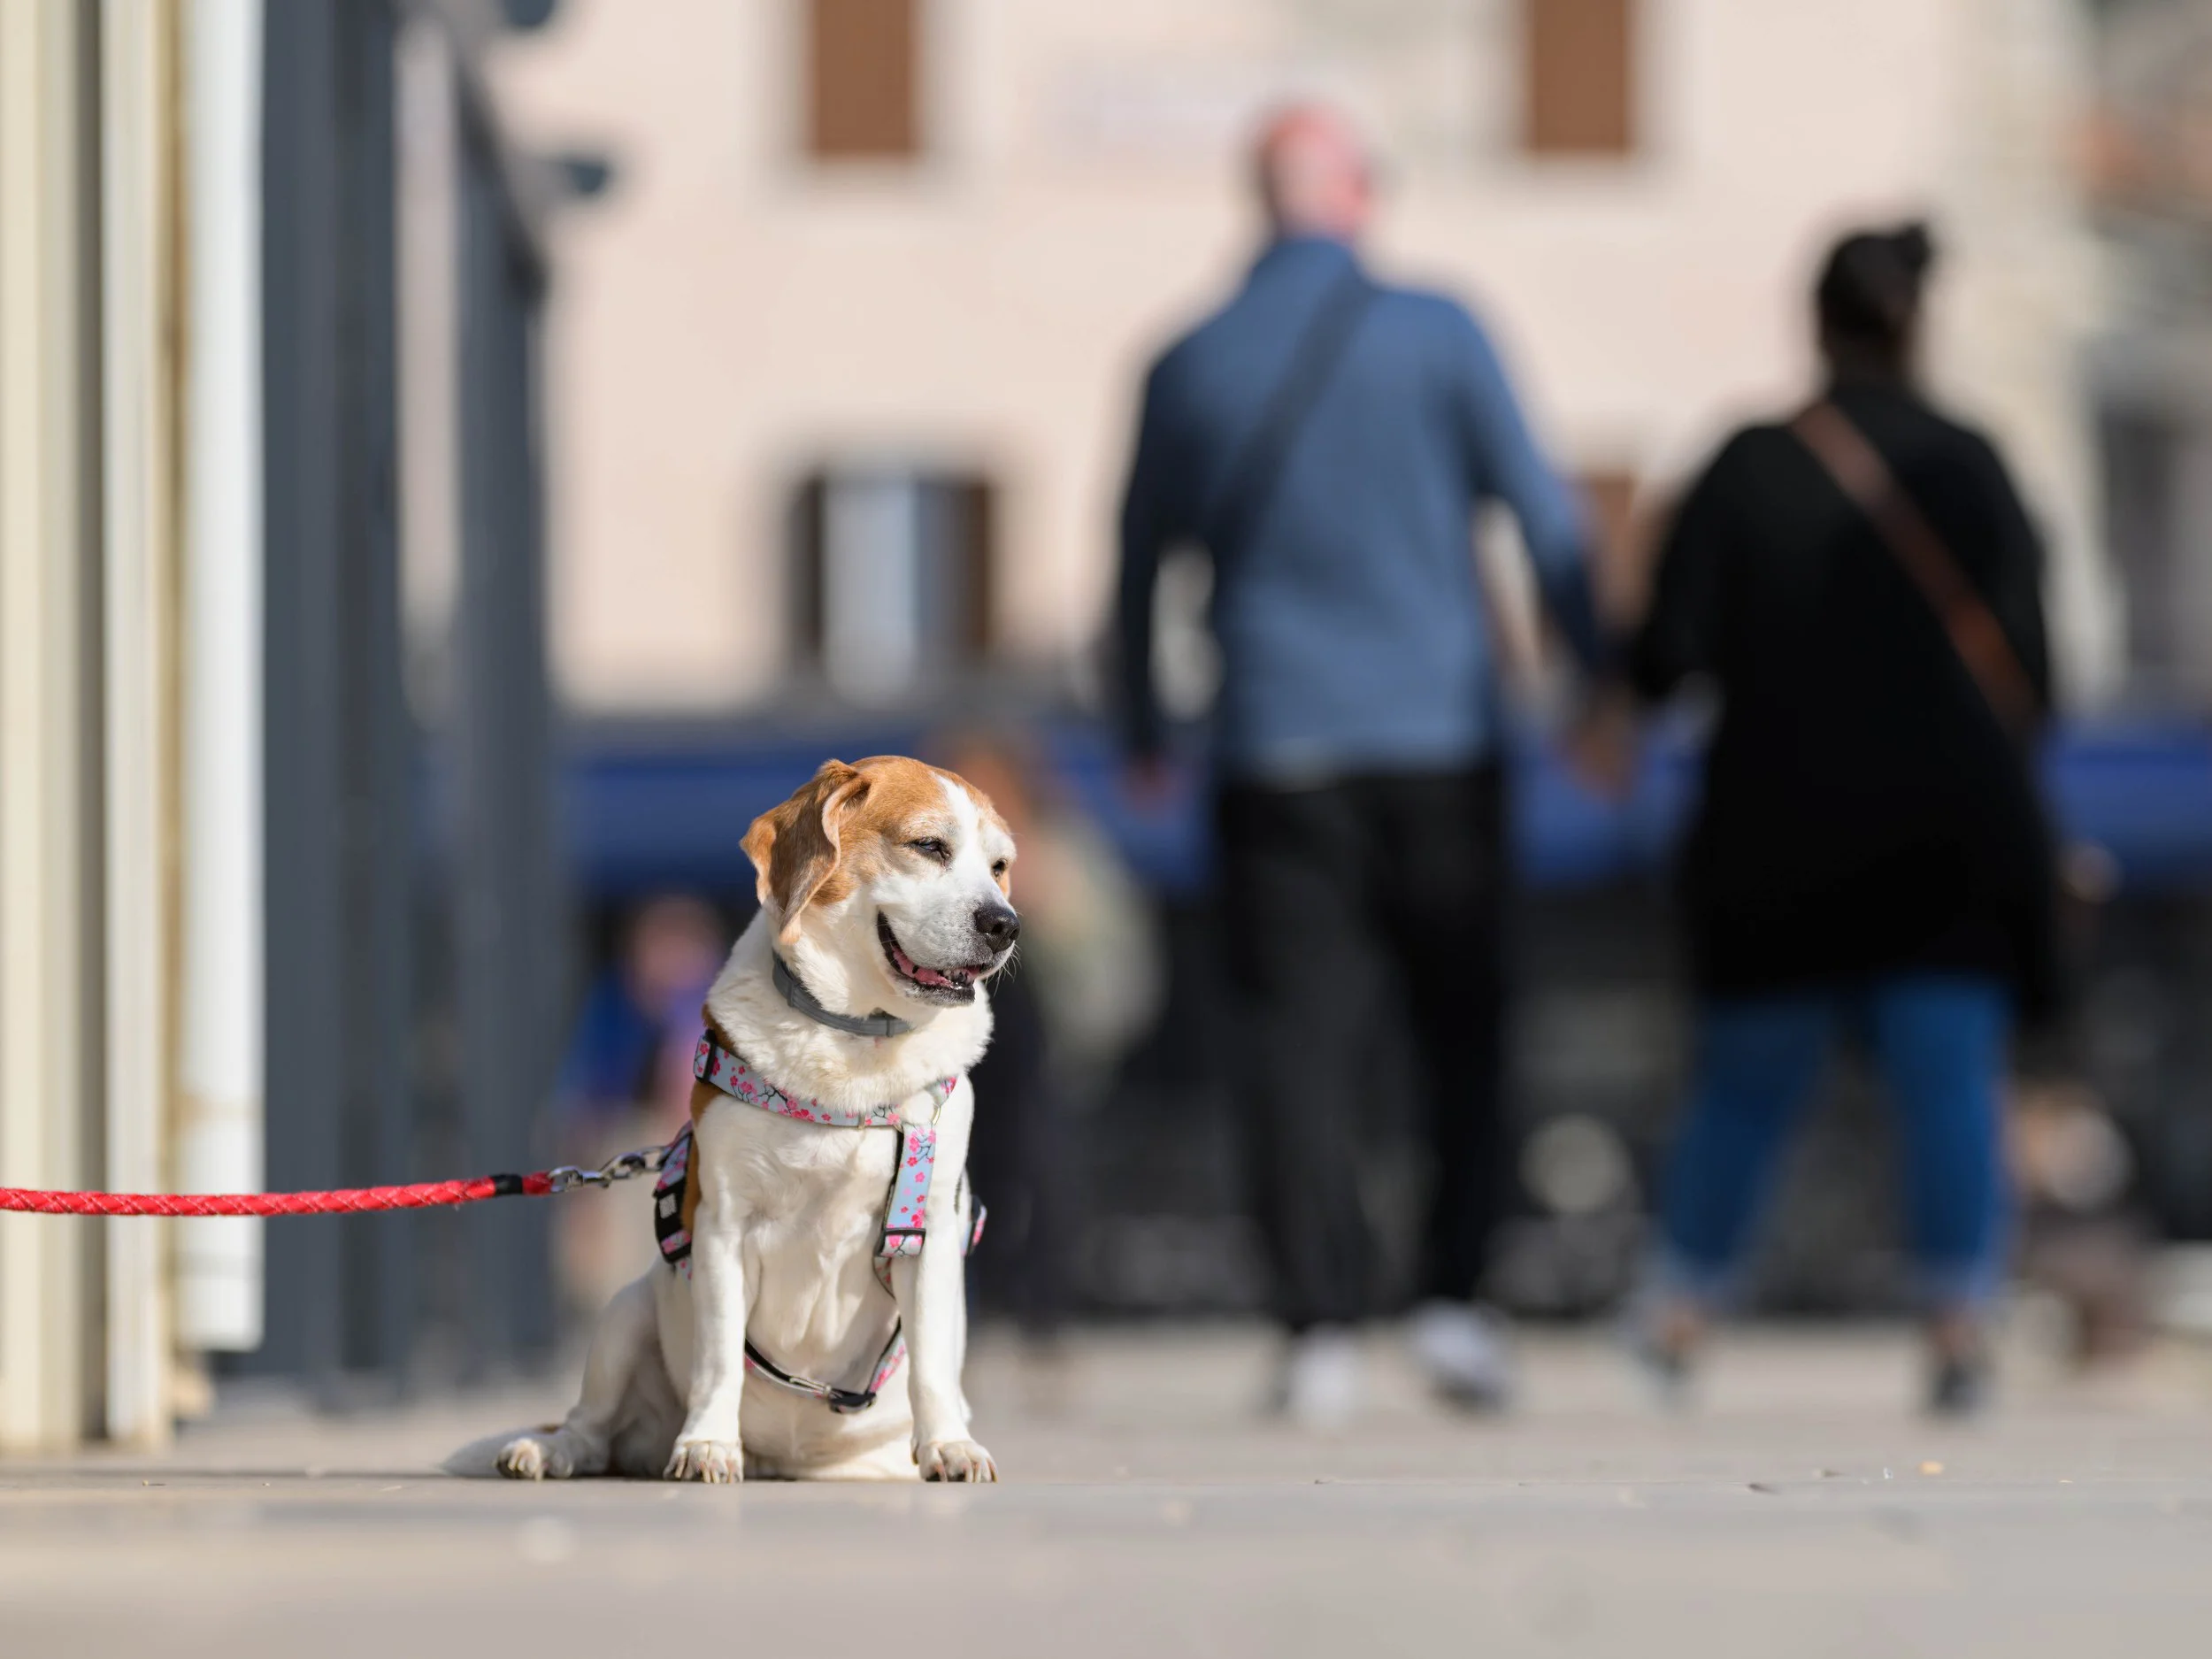
Dog on the street — narrative context (f/3.5)
Why it worked: slightly narrower aperture keeps background couple readable as context while isolating the dog.
Tip: Use the red leash as a compositional accent; place subject off centre
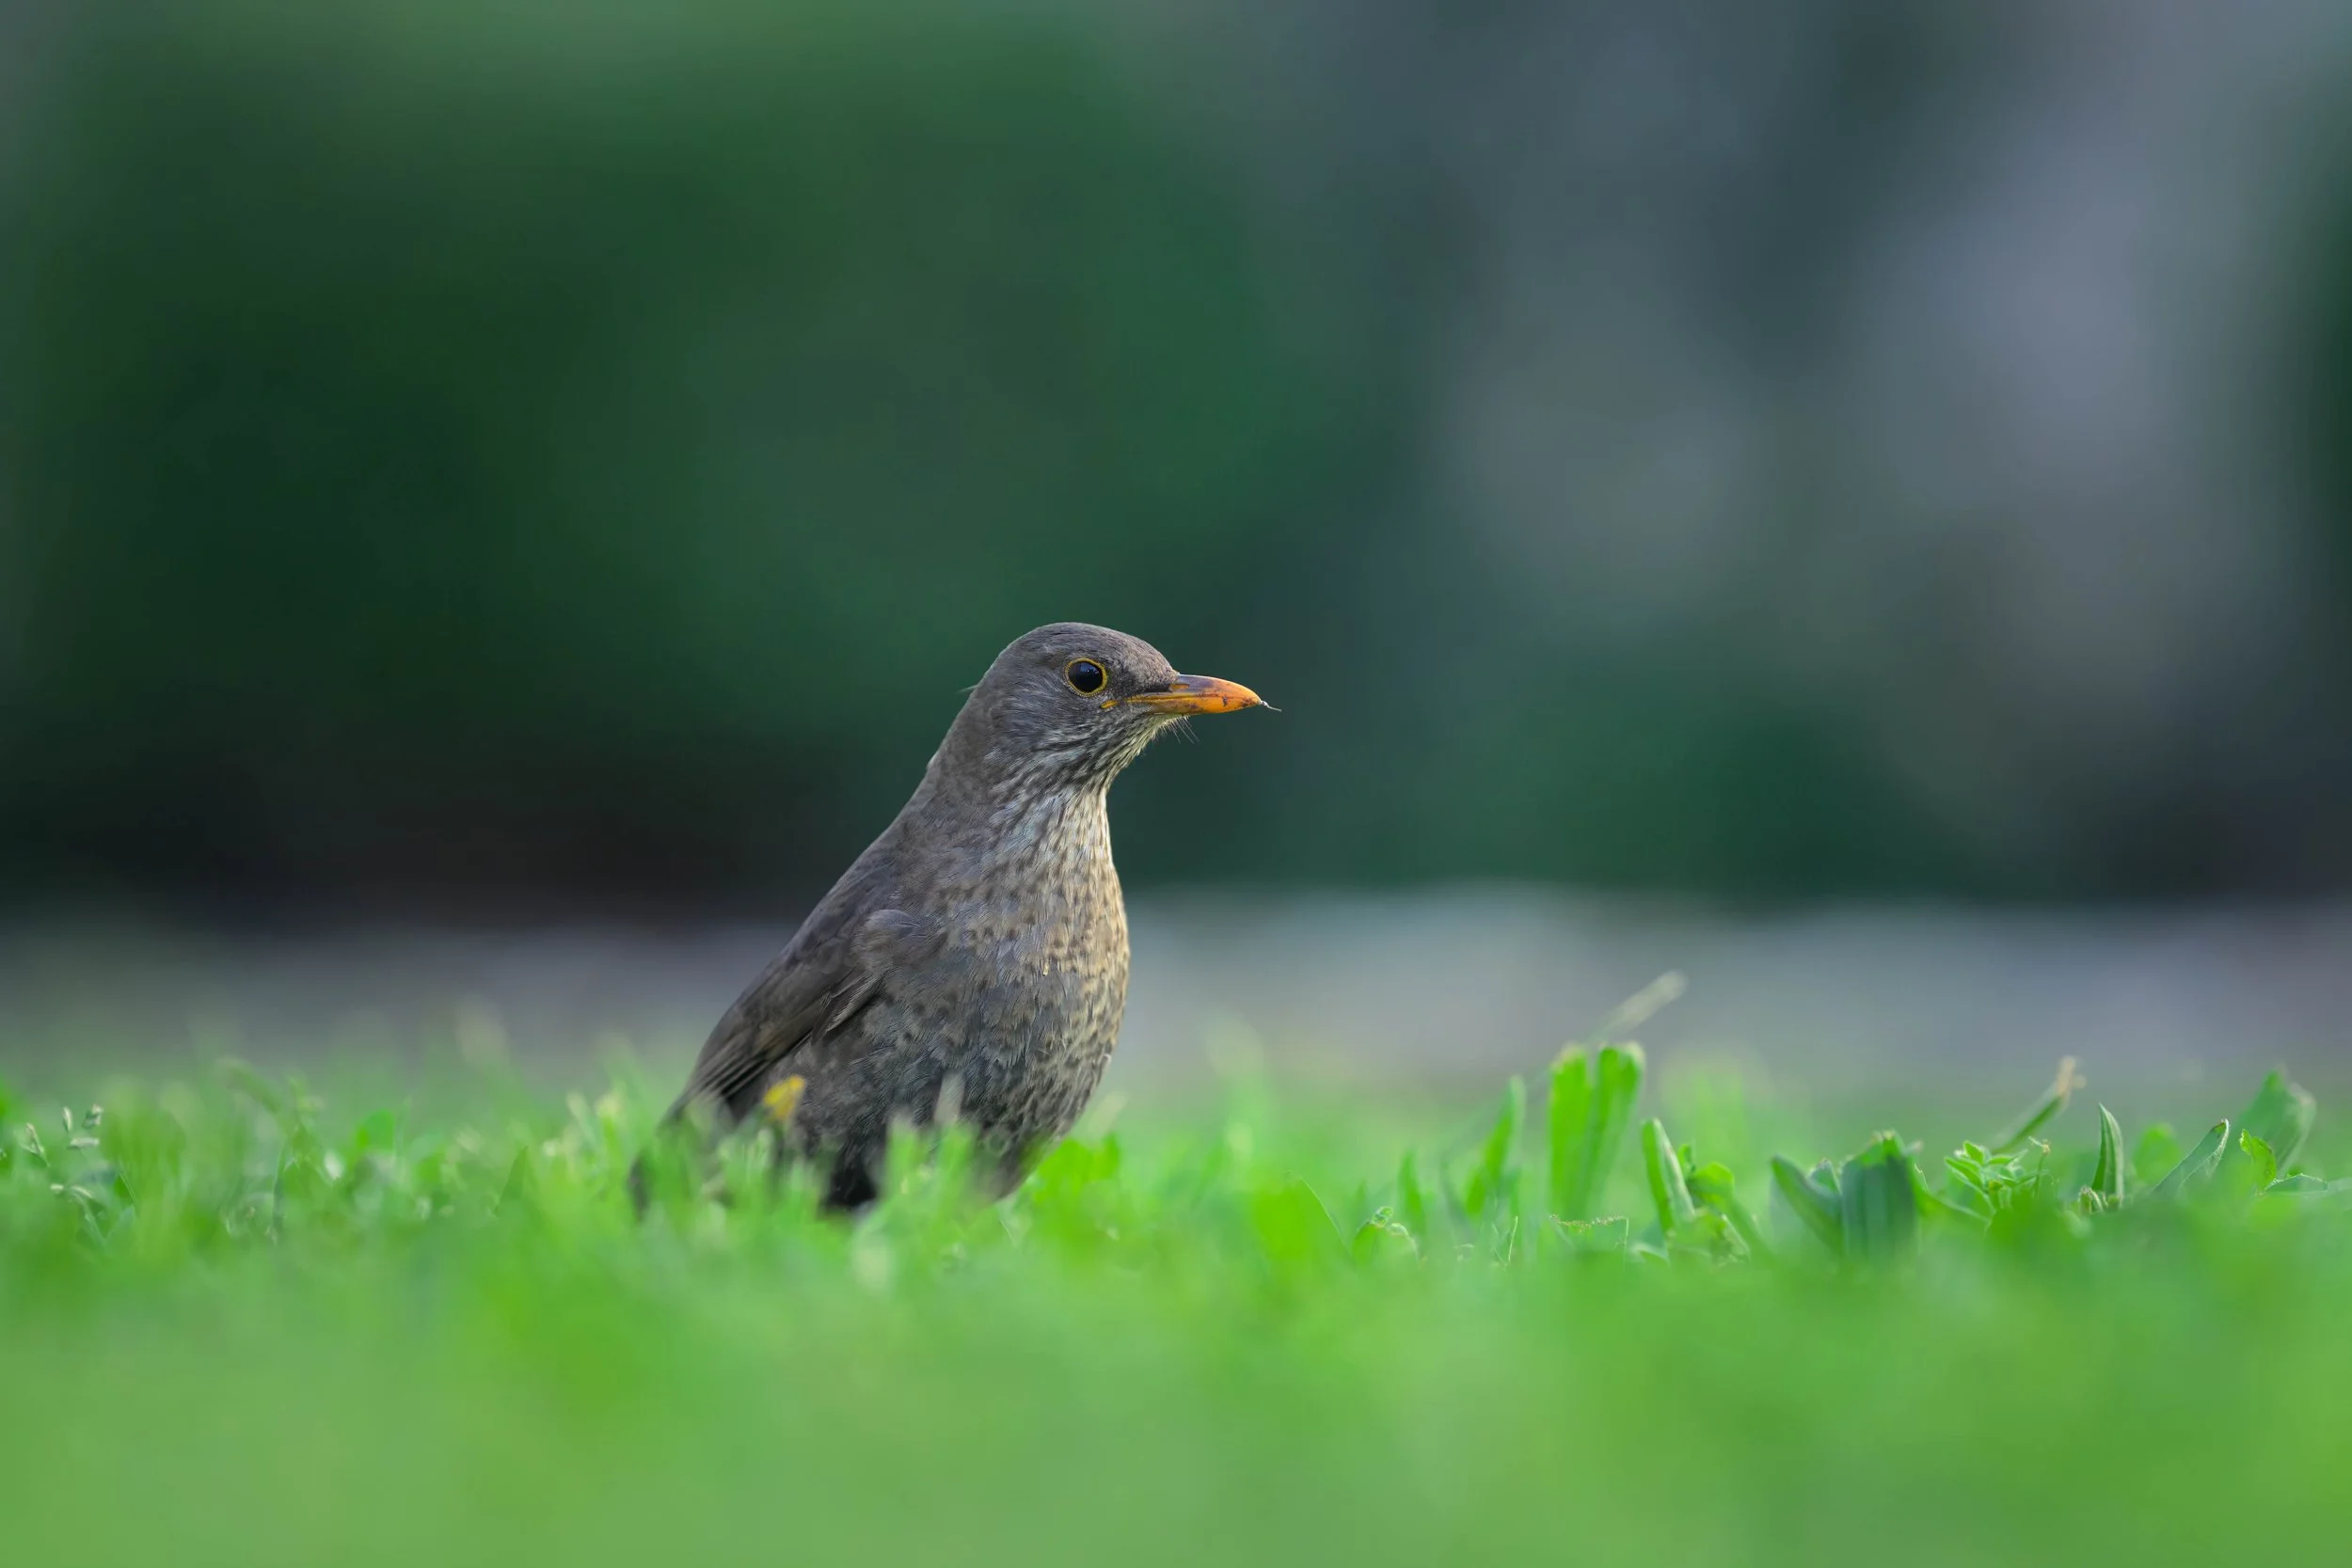
Blackbird female — dusk (f/2.0)
Why it worked: f/2 allows usable shutter speeds at moderate ISO; ground-level perspective meets the bird’s eye line.
Tip: Use low-angle shooting and keep shutter fast.
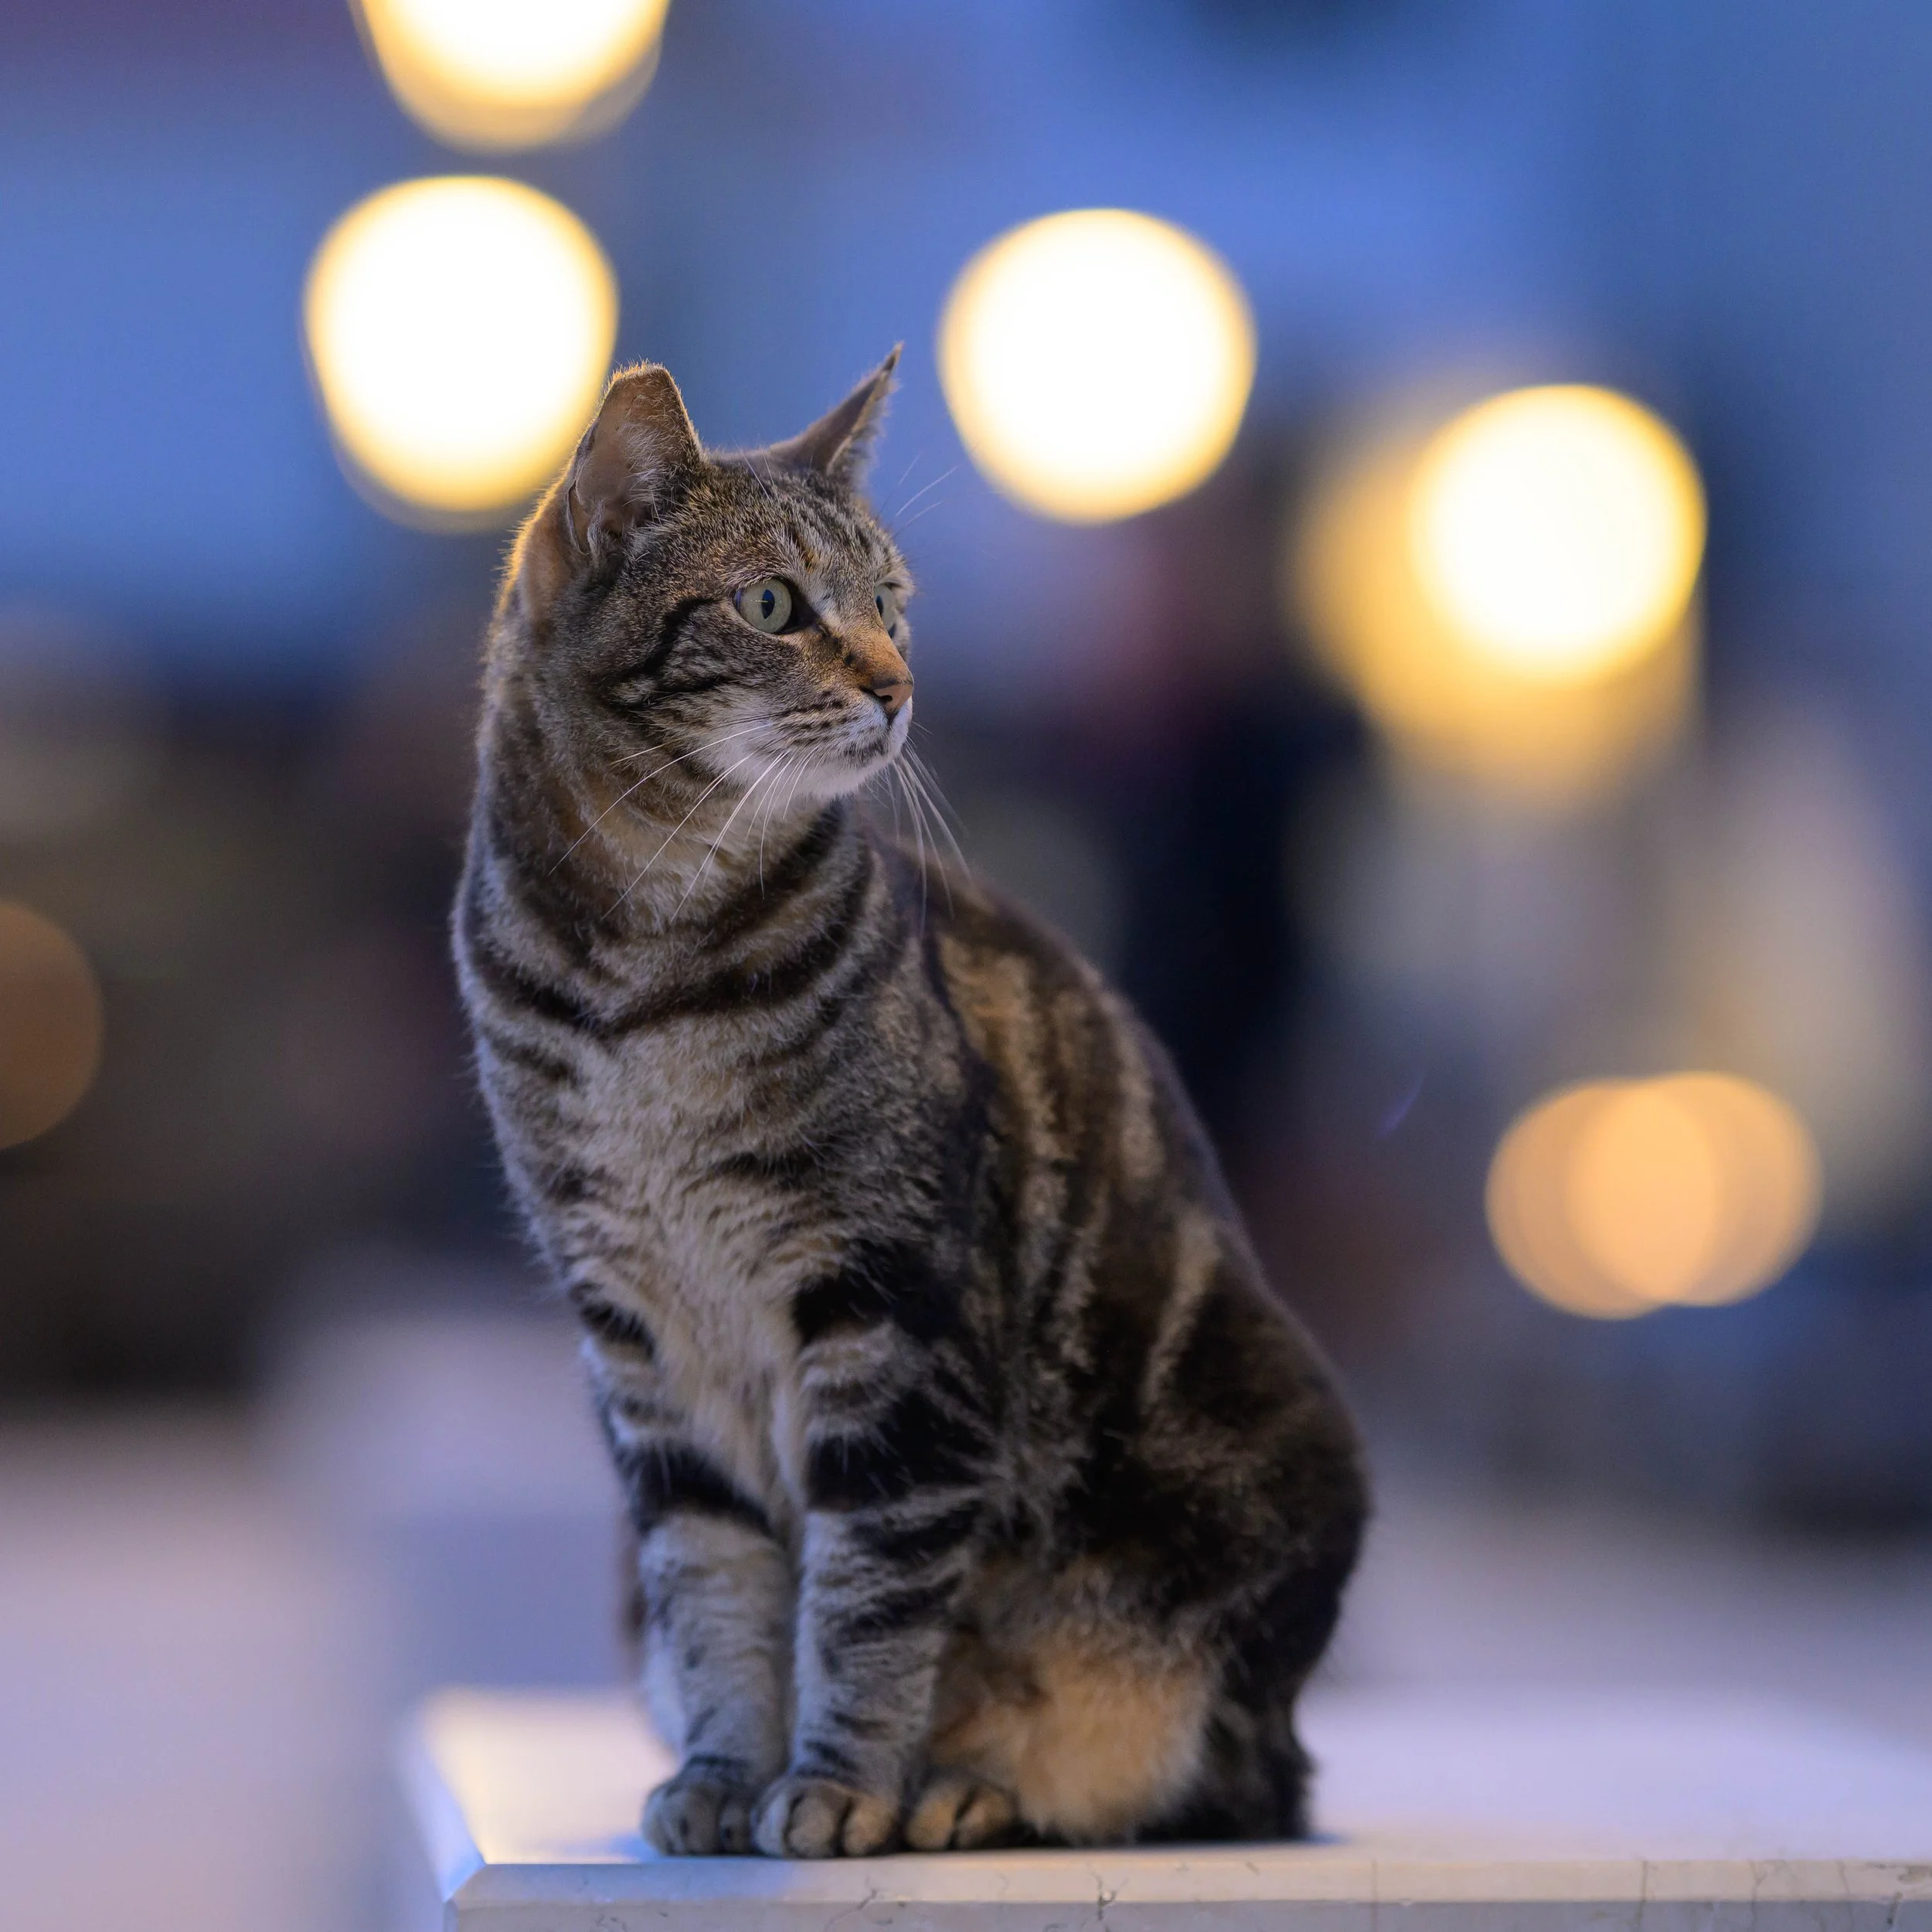
Cat after sunset — bokeh lights (f/2.0)
Why it worked: square crop intensifies intimacy; background lights create a painterly mood.
Tip: Manual focus if AF balks; sharpen the eye and keep noise reduction gentle.
Practical camera settings and workflow
Focus: Prioritise Eye‑AF or a single precise AF point on the nearest eye. For movement switch to AF‑C and use short bursts.
Shutter speed: Static subjects 1/250s; small birds and action 1/500s–1/1000s depending on motion.
Aperture: Use f/1.8–f/2.8 for strong separation and low light; stop to f/3.2–f/4 for slightly more depth when required.
ISO: Let the lens’ f/1.8 buy you lower ISO; accept modest noise rather than motion blur.
Stabilisation: Hand‑held is fine for many zoo portraits; use monopod for long shoots or very low light.
Shooting through glass/zones: Place lens hood or hand against barrier; clean plate spots in-camera with manual focus if needed.
RAW workflow: Protect highlights, lift shadows for texture, apply local clarity on eyes, and use targeted noise reduction for background areas.
Editing recipe (quick Lightroom starting points)
Exposure: Protect highlights first; bring shadows up +0.5–1.0 stops for portrait texture.
Tone: Slight negative highlights, +20–30 shadows, +10 whites for punch; blacks -10 for depth.
Presence: Clarity +10 on eyes/head, Dehaze 0–5 overall.
Sharpening: Radius 1.0, Amount 60, Masking 60–80 to target eyes/bill.
Noise reduction: Luminance 20–40 depending on ISO; preserve detail with lower Radius.
Monochrome conversion: Use red/orange channel lift to separate skin/scale tones; add grain if you want filmic texture.
Key takeaways
Strengths: Outstanding subject separation, excellent low‑light performance, and pleasing tele compression.
Practical limits: Very shallow depth requires precise focus; very large enclosures may limit framing options.
Best use cases: Zoo portraits, dusk bird work, intimate small‑mammal portraits, and environmental street-animal stories.